
Python is one of the common programming languages for automating SEO processes.
One of the greatest libraries for creating a front-end for our apps without any HTML, CSS knowledge, or coding with a JavaScript-powered framework is Streamlit package.
In this Streamlit tutorial, we will dive into how you can create a beautiful app with Python and the Dockerfile for deploying your Streamlit app.
What Is Streamlit?
Streamlit is an open-source app framework (a Python package) that gives us the power for creating nice-looking apps without any front-end development knowledge.
This makes us free from involvement in any front-end framework or coding in HTML, CSS, and JavaScript.
You use pure Python to develop your front-end.
When Will The Streamlit Library Become Useful?
First of all, if you are coding Python scripts that run regularly on a machine with a job scheduler like cron, Streamlit isn’t useful for you.
But if you are developing a tool that you want to share with your team members, for example, a keyword research app, you can use Streamlit.
Also, if you need a user authentication method, the Streamlit community developed a package that can handle it for you.
Create A Streamlit App: Getting Started
Let’s create a simple app that gets autocomplete queries for a seed keyword from the Google public API.
Before beginning, create a folder on your machine, and name it what you want.
Also, I will assume you have installed Python before and know the basics of Python programming.
For the whole process, we need to use these Python libraries:
- Requests.
- Streamlit.
- Streamlit-Authenticator.
- PyYAML.
Also, we will import a Python standard library:
- JSON.
The tutorial code can be found in my Streamlit starter template repository on Github.
Installing The Streamlit Package
First of all, I prefer to create a virtual environment by running python3 -m venv .env, and then installing the Streamlit package by running pip3 install streamlit.
Now create a Python script. Let’s call it streamlit_app.py.
In complex projects that have too many functions, I prefer to have separate Python script files for my different functions and then import those into the streamlit_app.py or create a separate app with Flask or FastAPI.
For example, in a keyword research app, I have a Python script for different functions that get data from Semrush, a script for getting the top 10 or 20 results from Google, a script to get the Google autocomplete and Google-related searches, etc.
Get The Google Autocomplete Queries
For making requests, we need to use the Requests package. To get this package, you need to run pip3 install requests.
Also, to parse the autocomplete API response, we need to import the Python standard JSON library.
First of all, we import the JSON standard library, the Requests package for making requests, and Streamlit for creating our app.
Then, I defined a function for getting the Google autocomplete queries as a list of strings.
I used replace function twice to keep everything simple, but you can use re library for using regex.
"""A Streamlit app for getting the Google autocomplete queries
"""
import json

import requests
import streamlit as st

def google_autocomplete(keyword: str) -> list[str]:
    """Get Google autocomplete queries for a seed keyword

    Args:
        keyword (str): The seed keyword

    Returns:
        list[str]: A list of the autocomplete queries
    """
    google_autocomplete_api: str = "https://www.google.com/complete/search"
    google_autocomplete_params: dict = {
        "q": keyword,
        "cp": 8,
        "client": "gws-wiz",
        "xssi": "t",
        "hl": "en-US"
    }

    response = requests.get(google_autocomplete_api, params=google_autocomplete_params)

    list_google_autocomplete_uncleaned: list[list] = json.loads((response.content).decode("UTF-8")[5:])[0]
    list_google_autocomplete_cleaned: list[str] = [
        element[0].replace('<b>', '').replace('</b>', '')
        for element in list_google_autocomplete_uncleaned
        ]

    return list_google_autocomplete_cleaned
The Streamlit App
Up until now, we have installed the Streamlit package and defined our function to get the Google autocomplete queries. Now, let’s create the actual app.
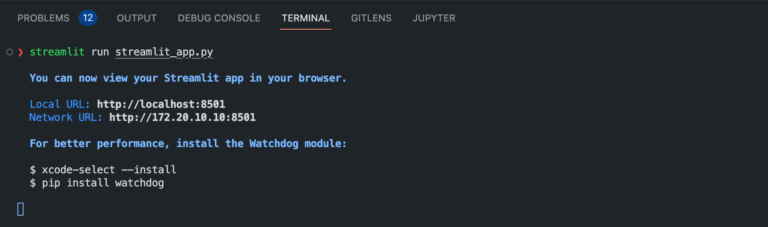
To view the Streamlit app, we need to run the Streamlit with the run streamlit_app.py command in the terminal for running our app locally. After you run this command, by going to the http://localhost:8501/ URL, you can view the app.
Yes, it’s blank because we didn’t add any heading, etc., to it.
 Screenshot from author, October 2022
Add A Heading To The Streamlit App
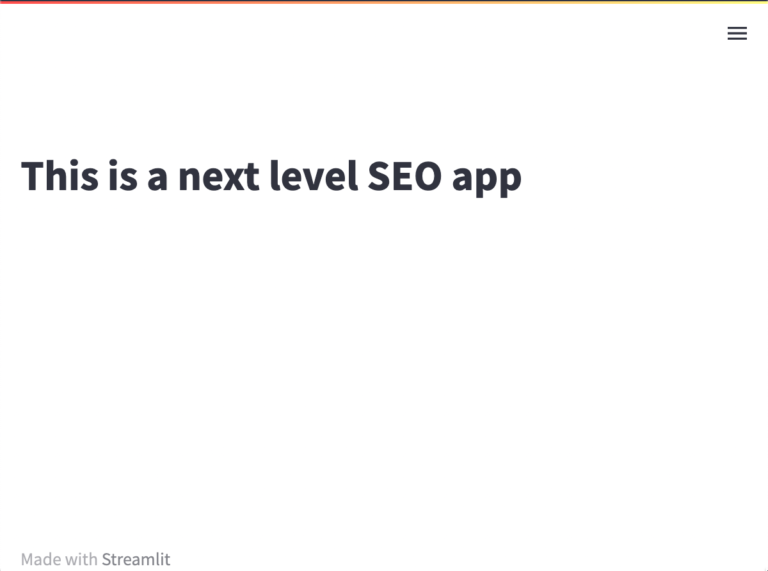
Let’s add a heading to our app. As you see above, I imported the Streamlit as st.
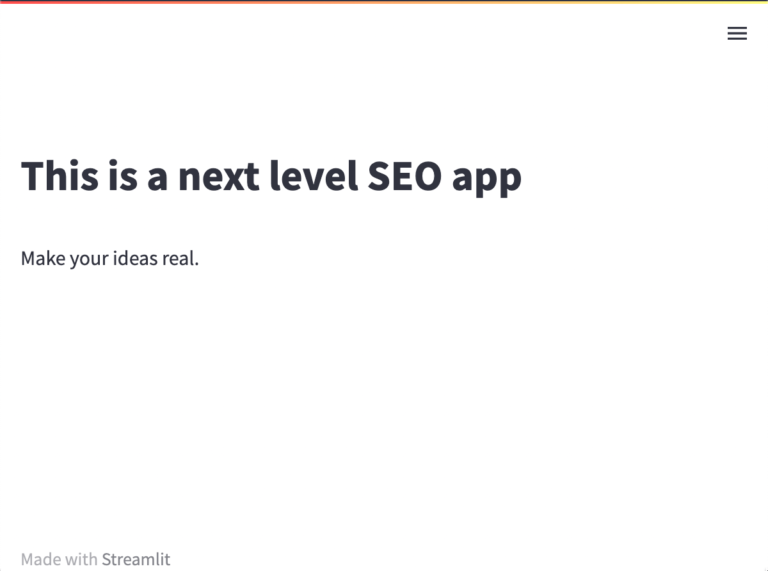
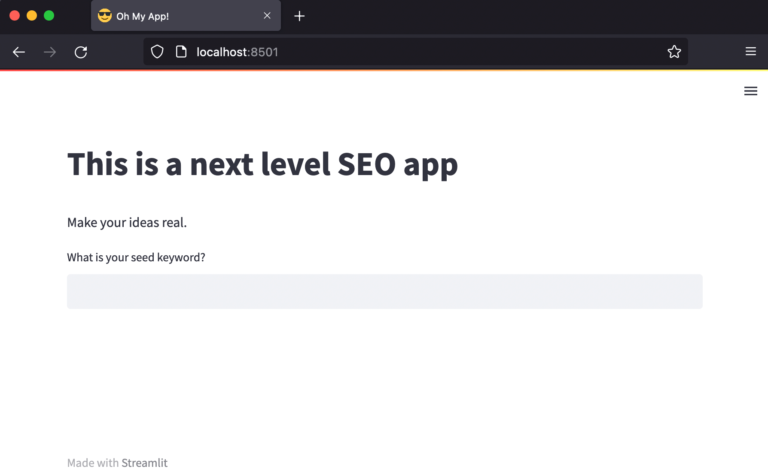
Now by calling the st.title() function, we can add a heading to the page with a title style. Let’s say st.title(“This is a next level SEO app”).
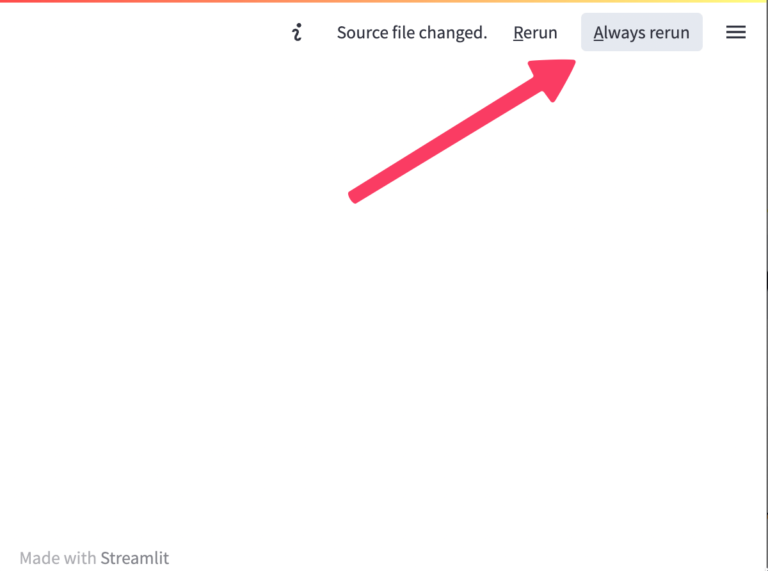
Remember that after editing your streamlit_app.py file and saving it, an icon appears in the top right corner of the page, and you must press Always return to view the app changes without any page refresh.
 Screenshot from author, October 2022
Now our app looks like the image below. If your system theme is dark, your app is with a dark theme.
 Screenshot from author, October 2022
Add Text To The Streamlit App
For adding a text paragraph to the app, you need to use the st.write() function. For example, st.write(“Make your ideas real”).
 Screenshot from author, October 2022
Add A Text Input To The Streamlit App
As you saw in the Google autocomplete function, there was an argument called “keyword”.
This argument must come from the user input.
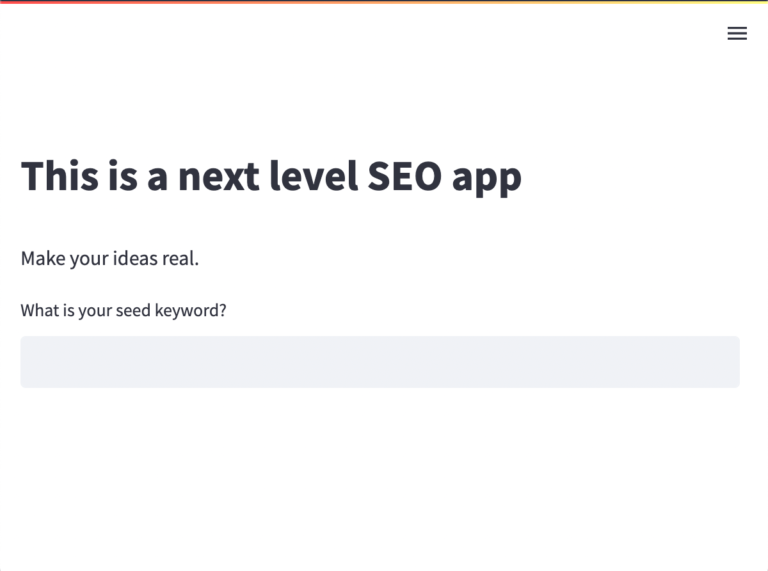
To get the user input, we can use a text input field in Streamlit. With st.text_input() we can add a text input. For example, st.text_input(“What is your seed keyword?”).
Also, in order to use the input keyword later to pass to our function, we must assign it to a variable.
input_google_autocomplete_keyword: str = st.text_input(
    "What is your seed keyword?")
Now we want to run our app when there is an input keyword. Here, we use an if statement to check if the variable is empty or not.
if input_google_autocomplete_keyword:
    output_list_google_autocomplete: list[str] = google_autocomplete(
        input_google_autocomplete_keyword)
 Screenshot from author, October 2022
Download From The Streamlit App
So, we have added a heading, a line of text, and an input text field to get the user seed keyword.
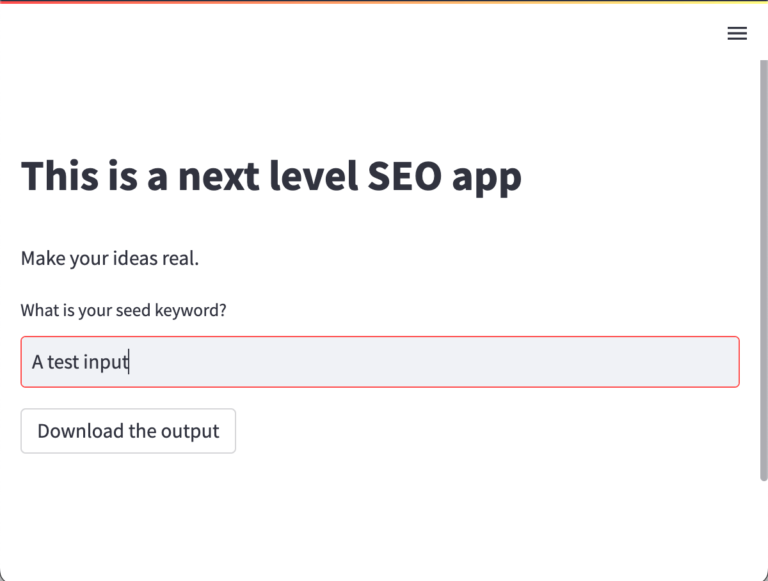
Now we must execute our written function and make a download button for the user to get the results in a text file.
if output_list_google_autocomplete:
        st.download_button("Download the output",
                           ("\n").join(output_list_google_autocomplete))
 Screenshot from author, October 2022
We built our simple app! Let’s change the app title and favicon.
Before that, let’s see the Streamlit app section code up until now.
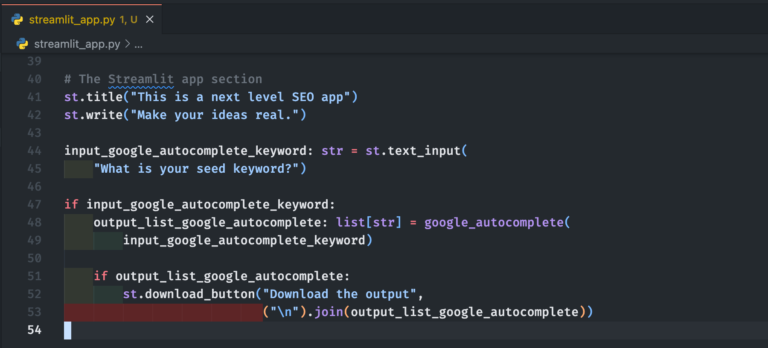 Screenshot from author, October 2022
Change The App Title And Favicon
The default title of the app is streamlit_app · Streamlit, and the favicon of the app is the Streamlit icon.
To change the title and favicon, we must use the st.set_page_config().
Also, I prefer the app layout to be wide (you can test it).
st.set_page_config(
    page_title="Oh My App!",
    page_icon="😎",
    layout="wide"
)
 Screenshot from author, October 2022
Set The App’s Default Theme
The app theme is based on the user’s system settings, but personally, most times, I find out the light theme has better contrast – and I don’t want my team to put their time into finding out how to change the app theme.
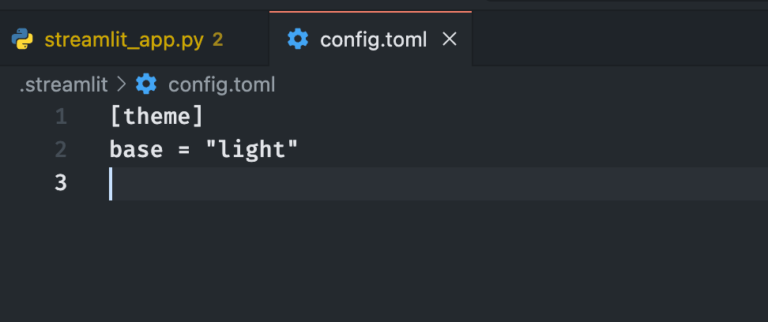
To set a default theme for the Streamlit app, first, you must create a folder, and name it .streamlit. Inside this folder create a file, and name it config.toml.
Inside the config.toml you must insert the below lines to set your app’s default theme.
[theme]
base = "light"
 Screenshot from author, October 2022
Authenticating Users In Streamlit
Imagine that after you deploy your app, someone finds out the app URL and accesses it.
To protect your app, you must authorize the users before they can use the app – like most SASSs we use every day.
For a Streamlit app, we can use the Streamlit-Authenticator package. To install it, in the terminal located in your app folder, type the pip3 install streamlit-authenticator command, and import the package into your app.
I recommend you read the Streamlit authenticator package documentation to get a better understanding of what is going on.
import streamlit_authenticator as stauth
Now create a config.yaml file for inserting our users’ credentials.
credentials:
  usernames:
    firstUser:
      email: firstuser@gmail.com
      name: The first username
      password: 12345 # Must be replaced with the hashed password
    secondUser:
      email: seconduser@gmail.com
      name: The second username
      password: 111213 # Must be replaced with the hashed password
cookie:
  expiry_days: 30
  key: some_signature_key
  name: some_cookie_name
preauthorized:
  emails:
    - my@gmail.com
As in the package document you can see, now we must hash the passwords with the Hasher modules. I prefer to open an IPython and run the below code line.
hashed_passwords = stauth.Hasher([‘12345’, ‘111213’]).generate()
Creating A Login Widget
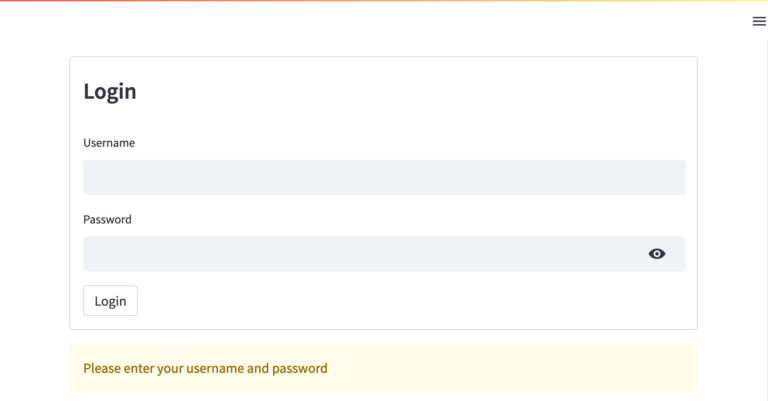
Now we must create a login widget where users can input their username, password, and then login into the app.
First, you need to install the PyYAML package with the pip3 install pyyaml command and import it with the import yaml.
Then create an authenticator object, and render the login module.
with open("./config.yaml") as file:
    config = yaml.load(file, Loader=yaml.SafeLoader)

authenticator = stauth.Authenticate(
    config["credentials"],
    config["cookie"]["name"],
    config["cookie"]["key"],
    config["cookie"]["expiry_days"],
    config["preauthorized"]
)

name, authentication_status, username = authenticator.login("Login", "main")
 Screenshot from author, October 2022
Show The App To Successfully Logged In Users
Now we can use the authentication_status variable to see the app for our successfully logged-in users.
if authentication_status:
    authenticator.logout('Logout', 'main')
    # OUR APP CODE COMES HERE
elif authentication_status == False:
    st.error('Username/password is incorrect')
elif authentication_status == None:
    st.warning('Please enter your username and password')
Deploy The Streamlit App With Docker
Now we are in the final step of developing our app.
You can use different services for deploying your app, like AWS, Google Cloud, Azure, Heroku, DigitalOcean, etc.
Before the Dockerfile, let’s create the requirements.txt file. To do so, we can use the pip3 freeze > requirements.txt command.
Streamlit Dockerfile
For deploying our app, I use Python 3.9.10.
FROM python:3.9.10
WORKDIR /app
COPY . .
RUN pip3 install -r requirements.txt
CMD ["streamlit", "run", "streamlit_app.py"]
EXPOSE 8501
Wrap Up
In this tutorial, we saw how we can create a stunning UI with pure Python, and deploy it with Docker.
To learn more about different Streamlit widgets, see their well-documented API reference.
More resources:
- Using Python + Streamlit To Find Striking Distance Keyword Opportunities
- Build Your Own SEO AnswerBox With GPT-3 Codex & Streamlit
- Advanced Technical SEO: A Complete Guide
Featured Image: Yaran/Shutterstock
