The list of mind-numbing SEO tasks that can be automated continues to grow and I’m eager to see more automation applications shared in the community.
Let’s get you involved!
Given the positive reception of my practical introduction to Python column and the growing importance of machine learning skills, I decided to write this machine learning piece, which I’ve tried to make super easy to follow.
I coded a simple to follow Google Colab notebook that you can use to produce a custom training dataset. This dataset will help us build a CTR predictive model.
However, instead of using our model to predict the CTR, we will use it to learn if adding keywords to the title tags predicts success.
I am considering success if our pages gain more organic search clicks.
The training data will come from Google Search Console and the title tags (and meta descriptions) from scraping the pages.
Here is our technical plan to generate the training dataset:
- Extract: Our code will connect to Google Search Console and pull our initial training data.
- Transform: Next, we will fetch the pages titles and meta descriptions and calculate if the queries are in the titles.
- Load: Finally, we will export our dataset with all the features and import it into the ML system.
In most machine learning projects, you will spend most of your time just putting together the training dataset.
The actual machine learning work takes significantly less effort but does require a clear understanding of the fundamentals.
In order to keep the machine learning part super simple, we will take our data and plug it into BigML, a “do it for you” machine learning toolset.
This is what I learned when I completed this tutorial using the data from one of my clients (yours might be different).
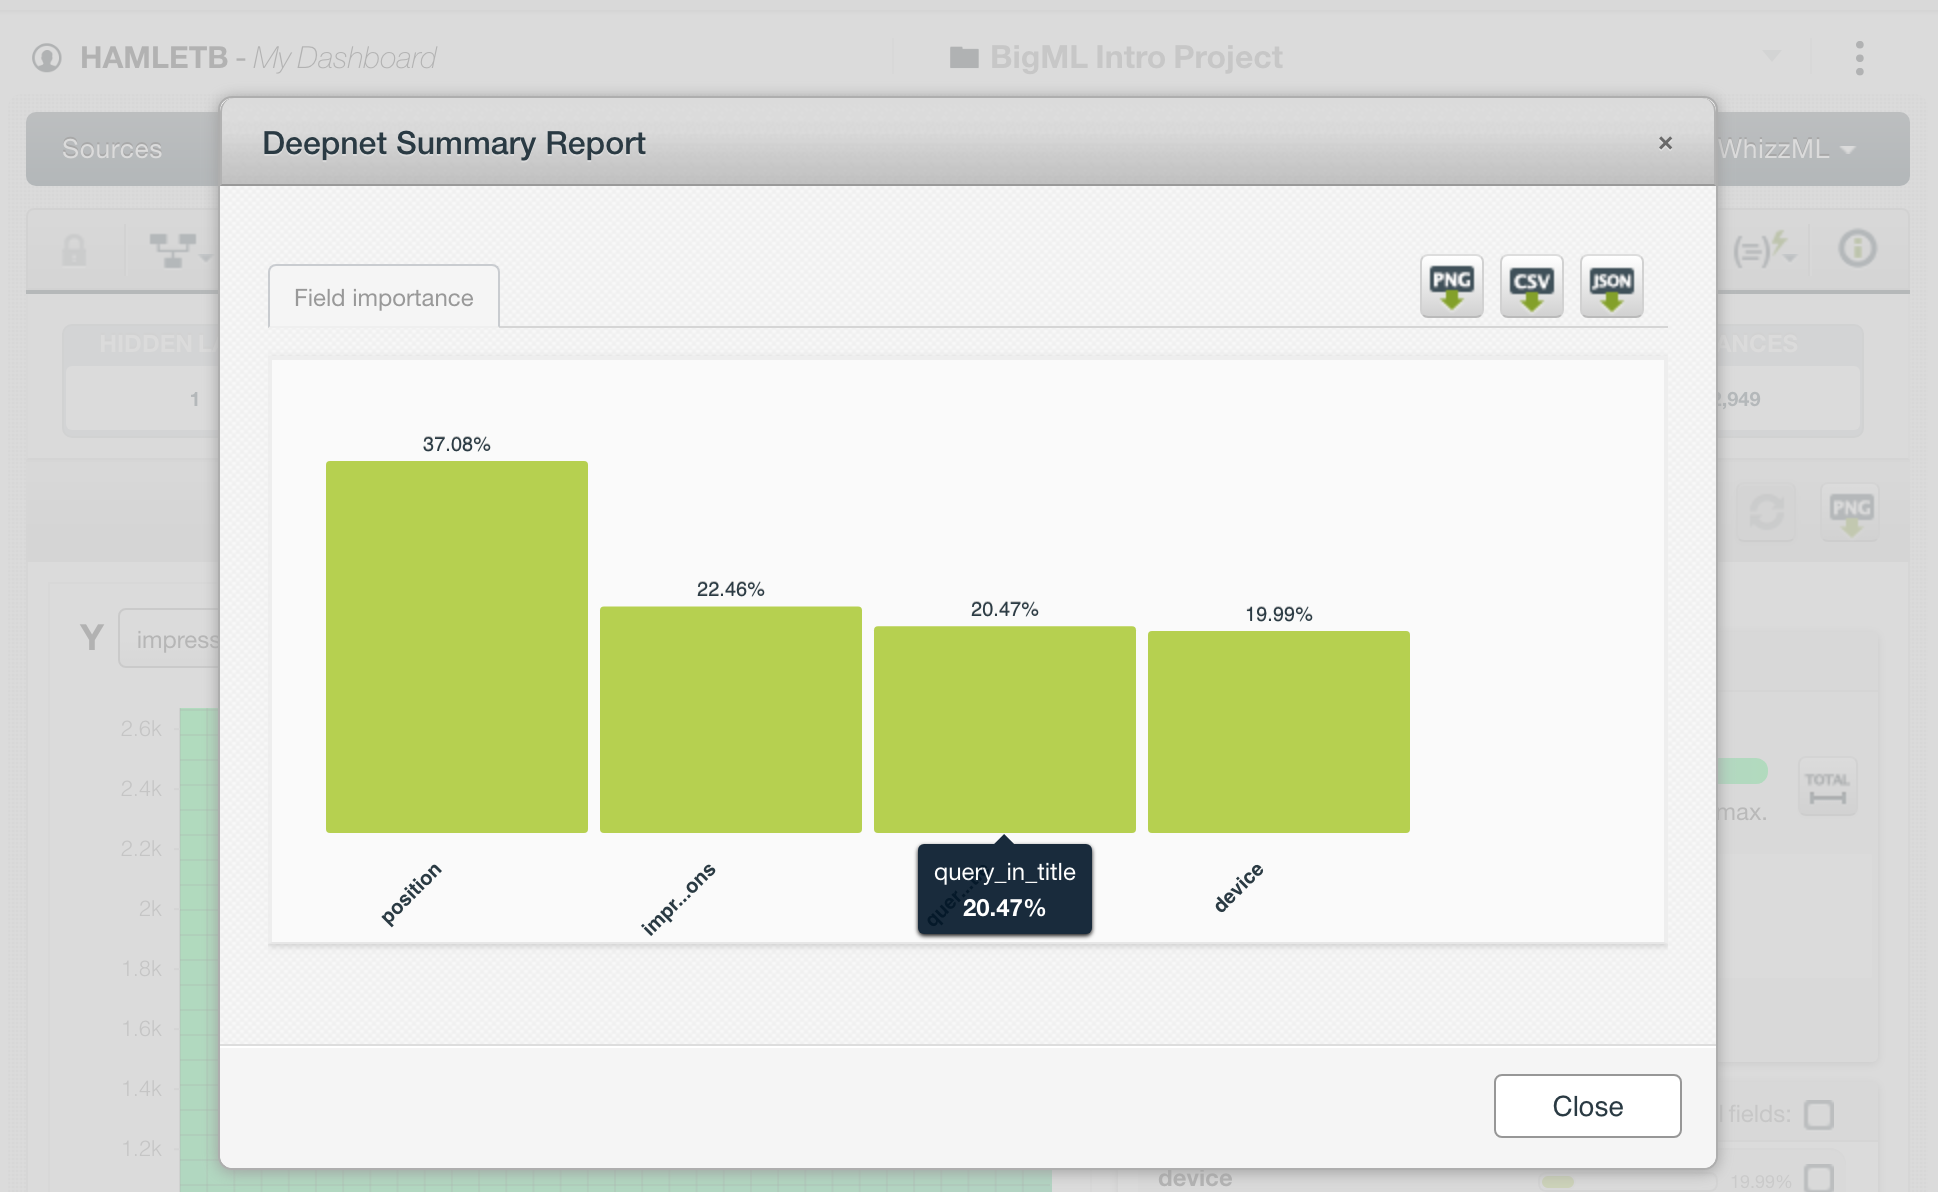
After the keyword position and search impressions, the presence of the query in the title plays a predictive role when trying to increase organic search clicks.
Let’s see how I performed this analysis using machine learning.
Extract, Transform & Load
A very common process in the machine learning pipeline is called extract, transform, load.
Traditionally it was the idea of moving data from one database to another, but in machine learning, you rarely have the source training data in the format expected by the models.
Many machine learning-related tasks are getting automated, but I expect that the domain expertise on what sort of data makes for good predictions is going to remain a valuable skill to have.
As SEOs, learning to build custom training datasets is probably the first thing you need to invest time into learning and mastering.
Public, generic data sources are not as good as the ones you can build and curate yourself.
Running the Colab Notebook
First, make a copy of the notebook and create an empty spreadsheet that we will use to populate the training dataset.
You need to provide three items:
- The spreadsheet name.
- The website URL in Search Console.
- An authorization file named client_id.json.
Let me outline the steps you need to take to produce the client_id.json file.
First, there is some setup to download a client_id.json file our Python code can use to connect securely to Google Search Console.
- Activate Search Console API in Compute Engine
https://console.cloud.google.com/apis/api/webmasters.googleapis.com/overview?project=&folder=&organizationId= - Create New Credentials / Help me choose (Search Console API, Other UI, User data)
https://console.cloud.google.com/apis/credentials/wizard?api=iamcredentials.googleapis.com&project= - Download client_id.json
First, make sure to run the cell with the form that has the input values to the notebook.
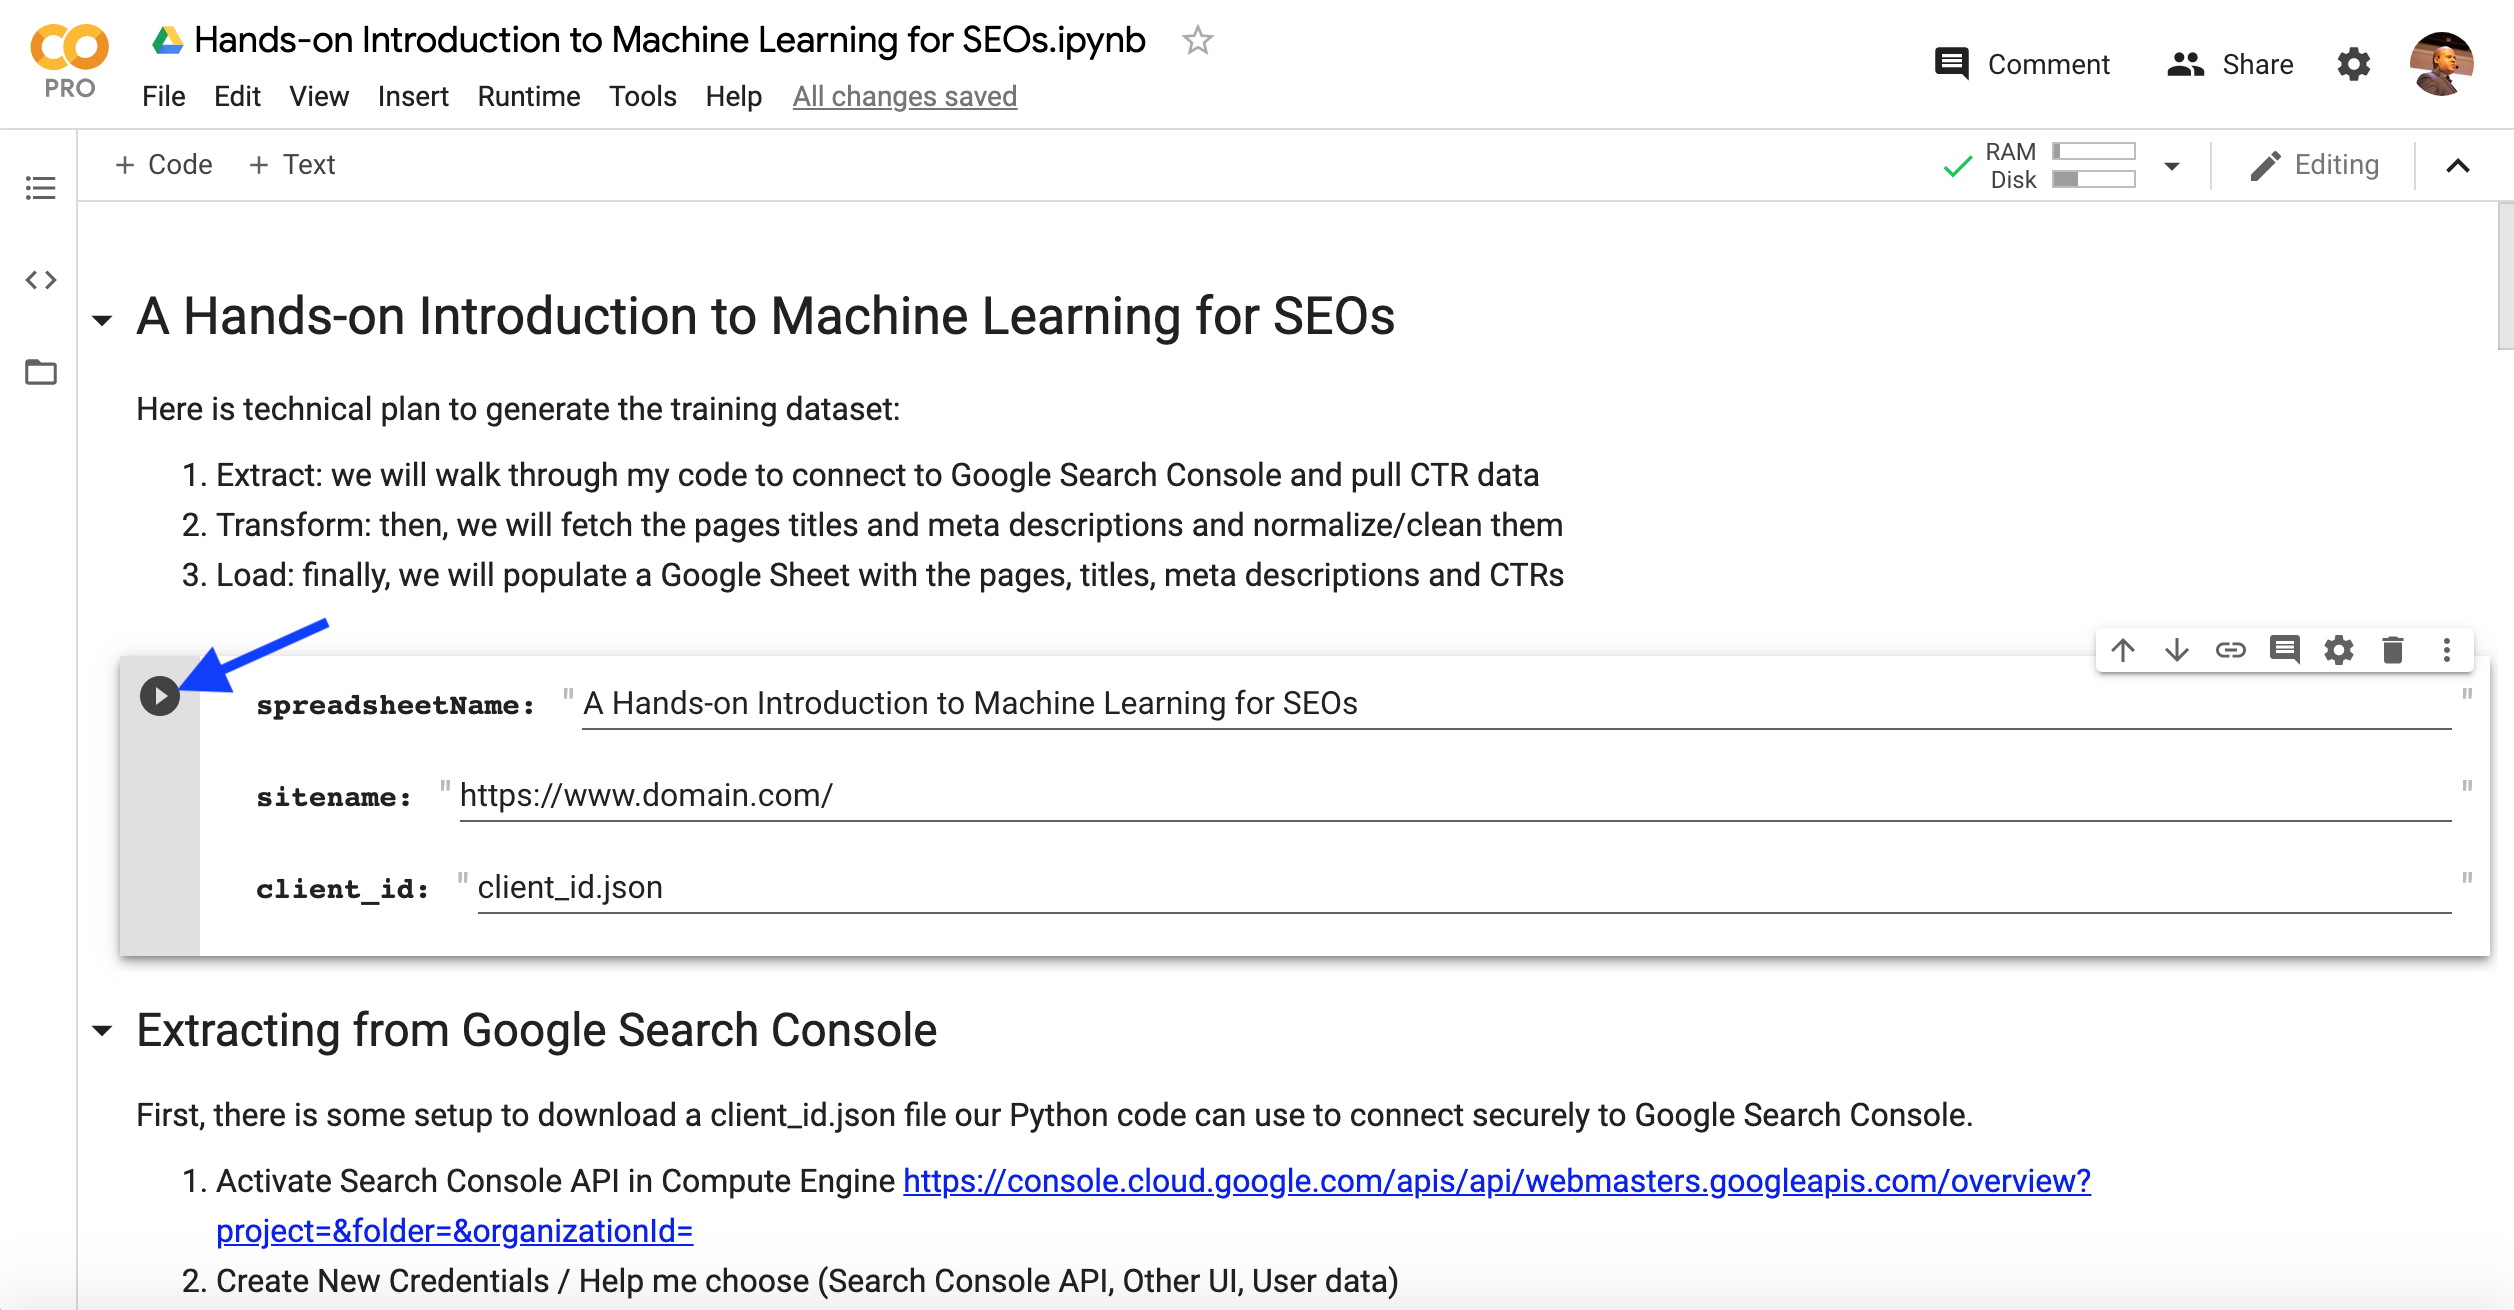
The following code in the notebook will prompt you to upload the client_id.json file from your computer.
#Next, we need to upload the file

from google.colab import files

files.upload()
You can click on Runtime > Run after in the line after uploading the client_id.json file (don’t forget to run the form at the top first, so the input values are captured).
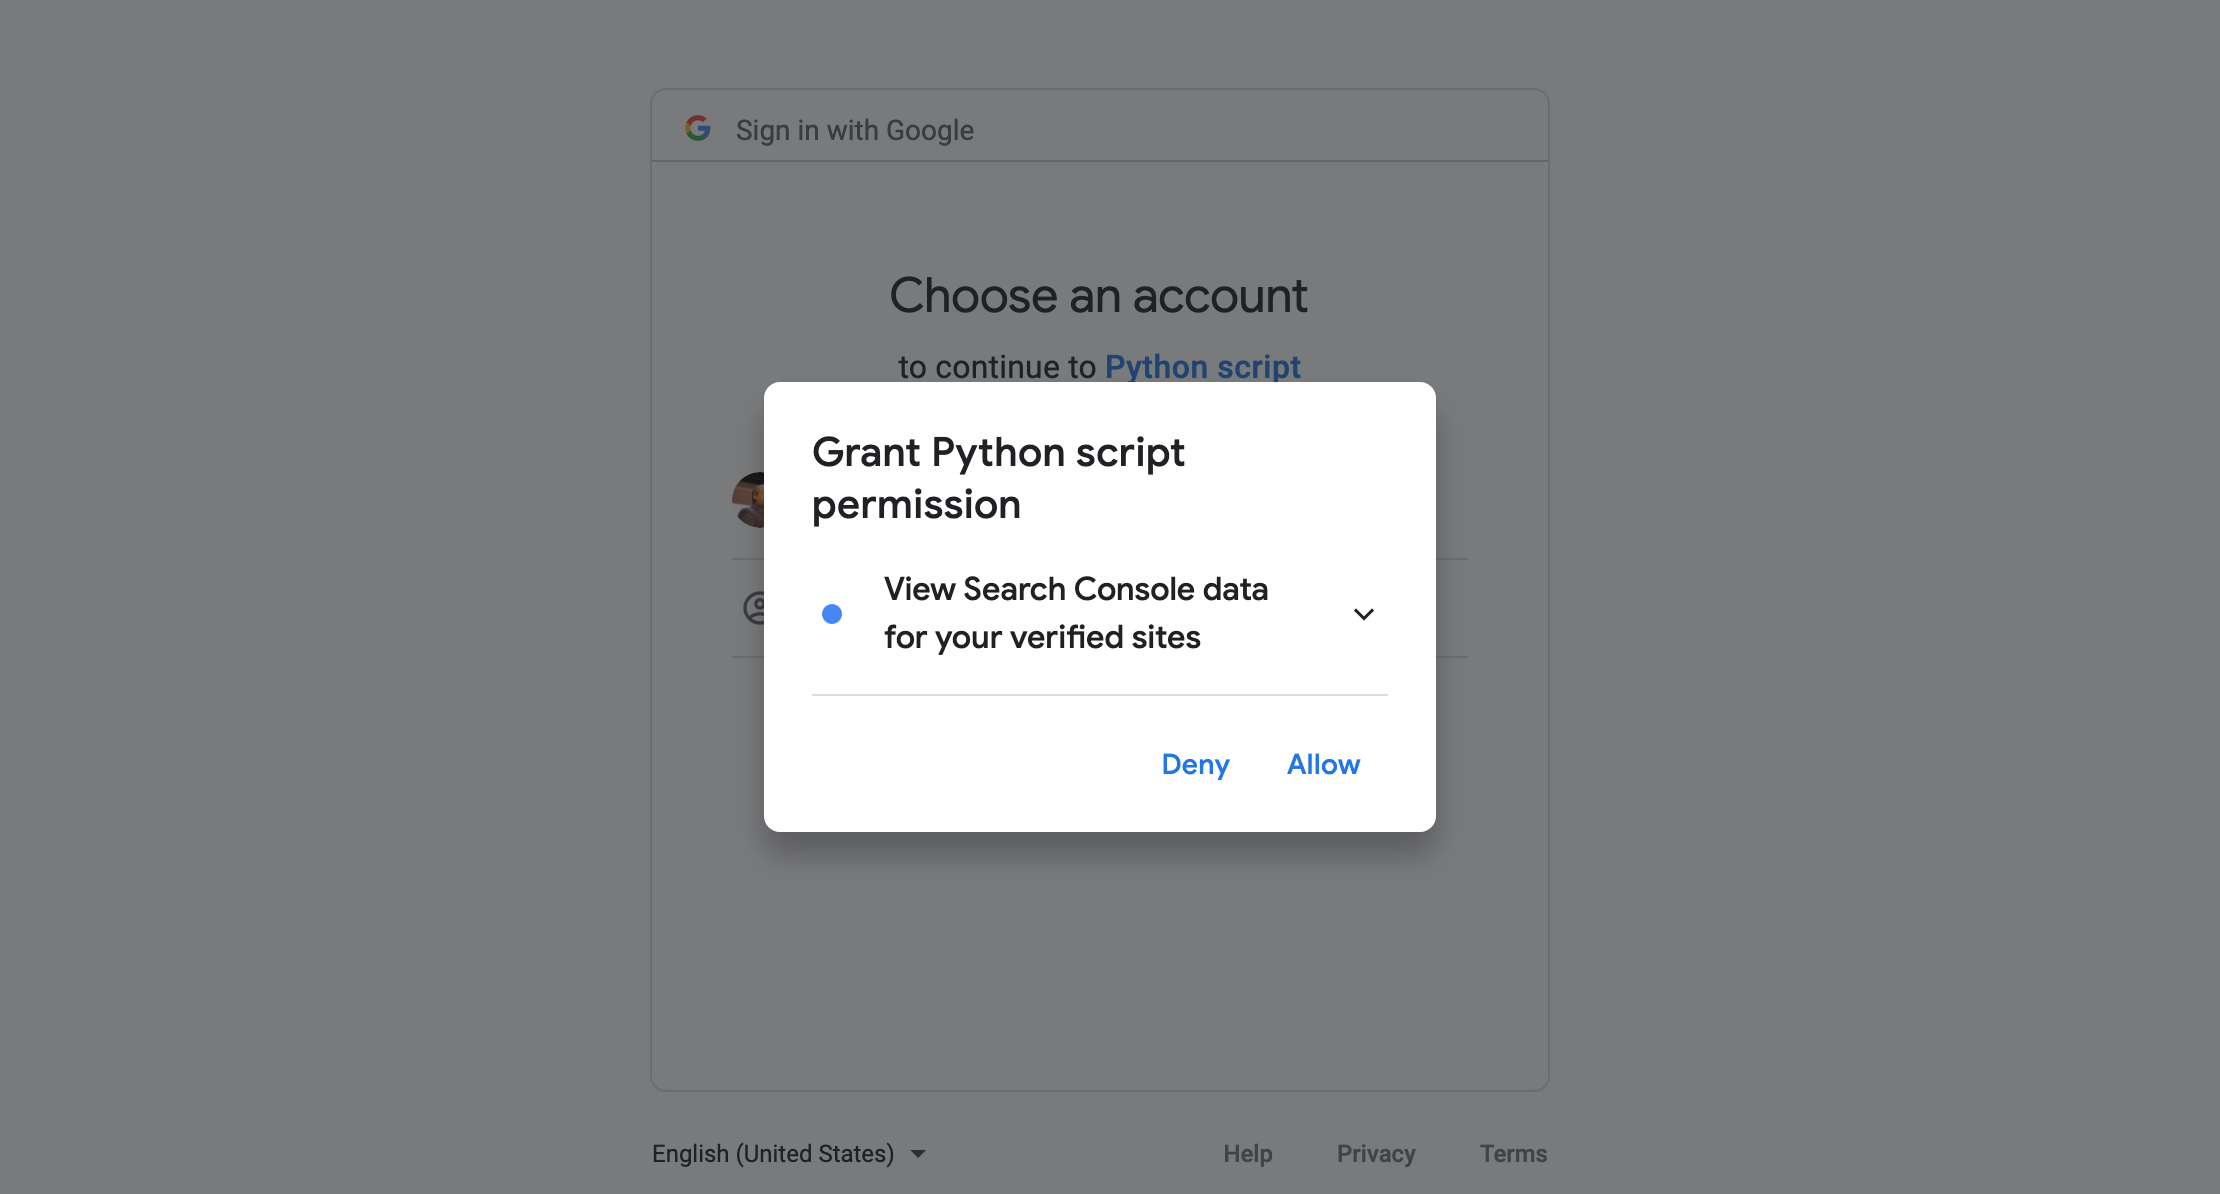
You will be prompted for authorization to get access to Search Console.
Please copy and paste the authorization code back to the notebook.
There is going to be a second prompt, it will get us access to the blank spreadsheet.
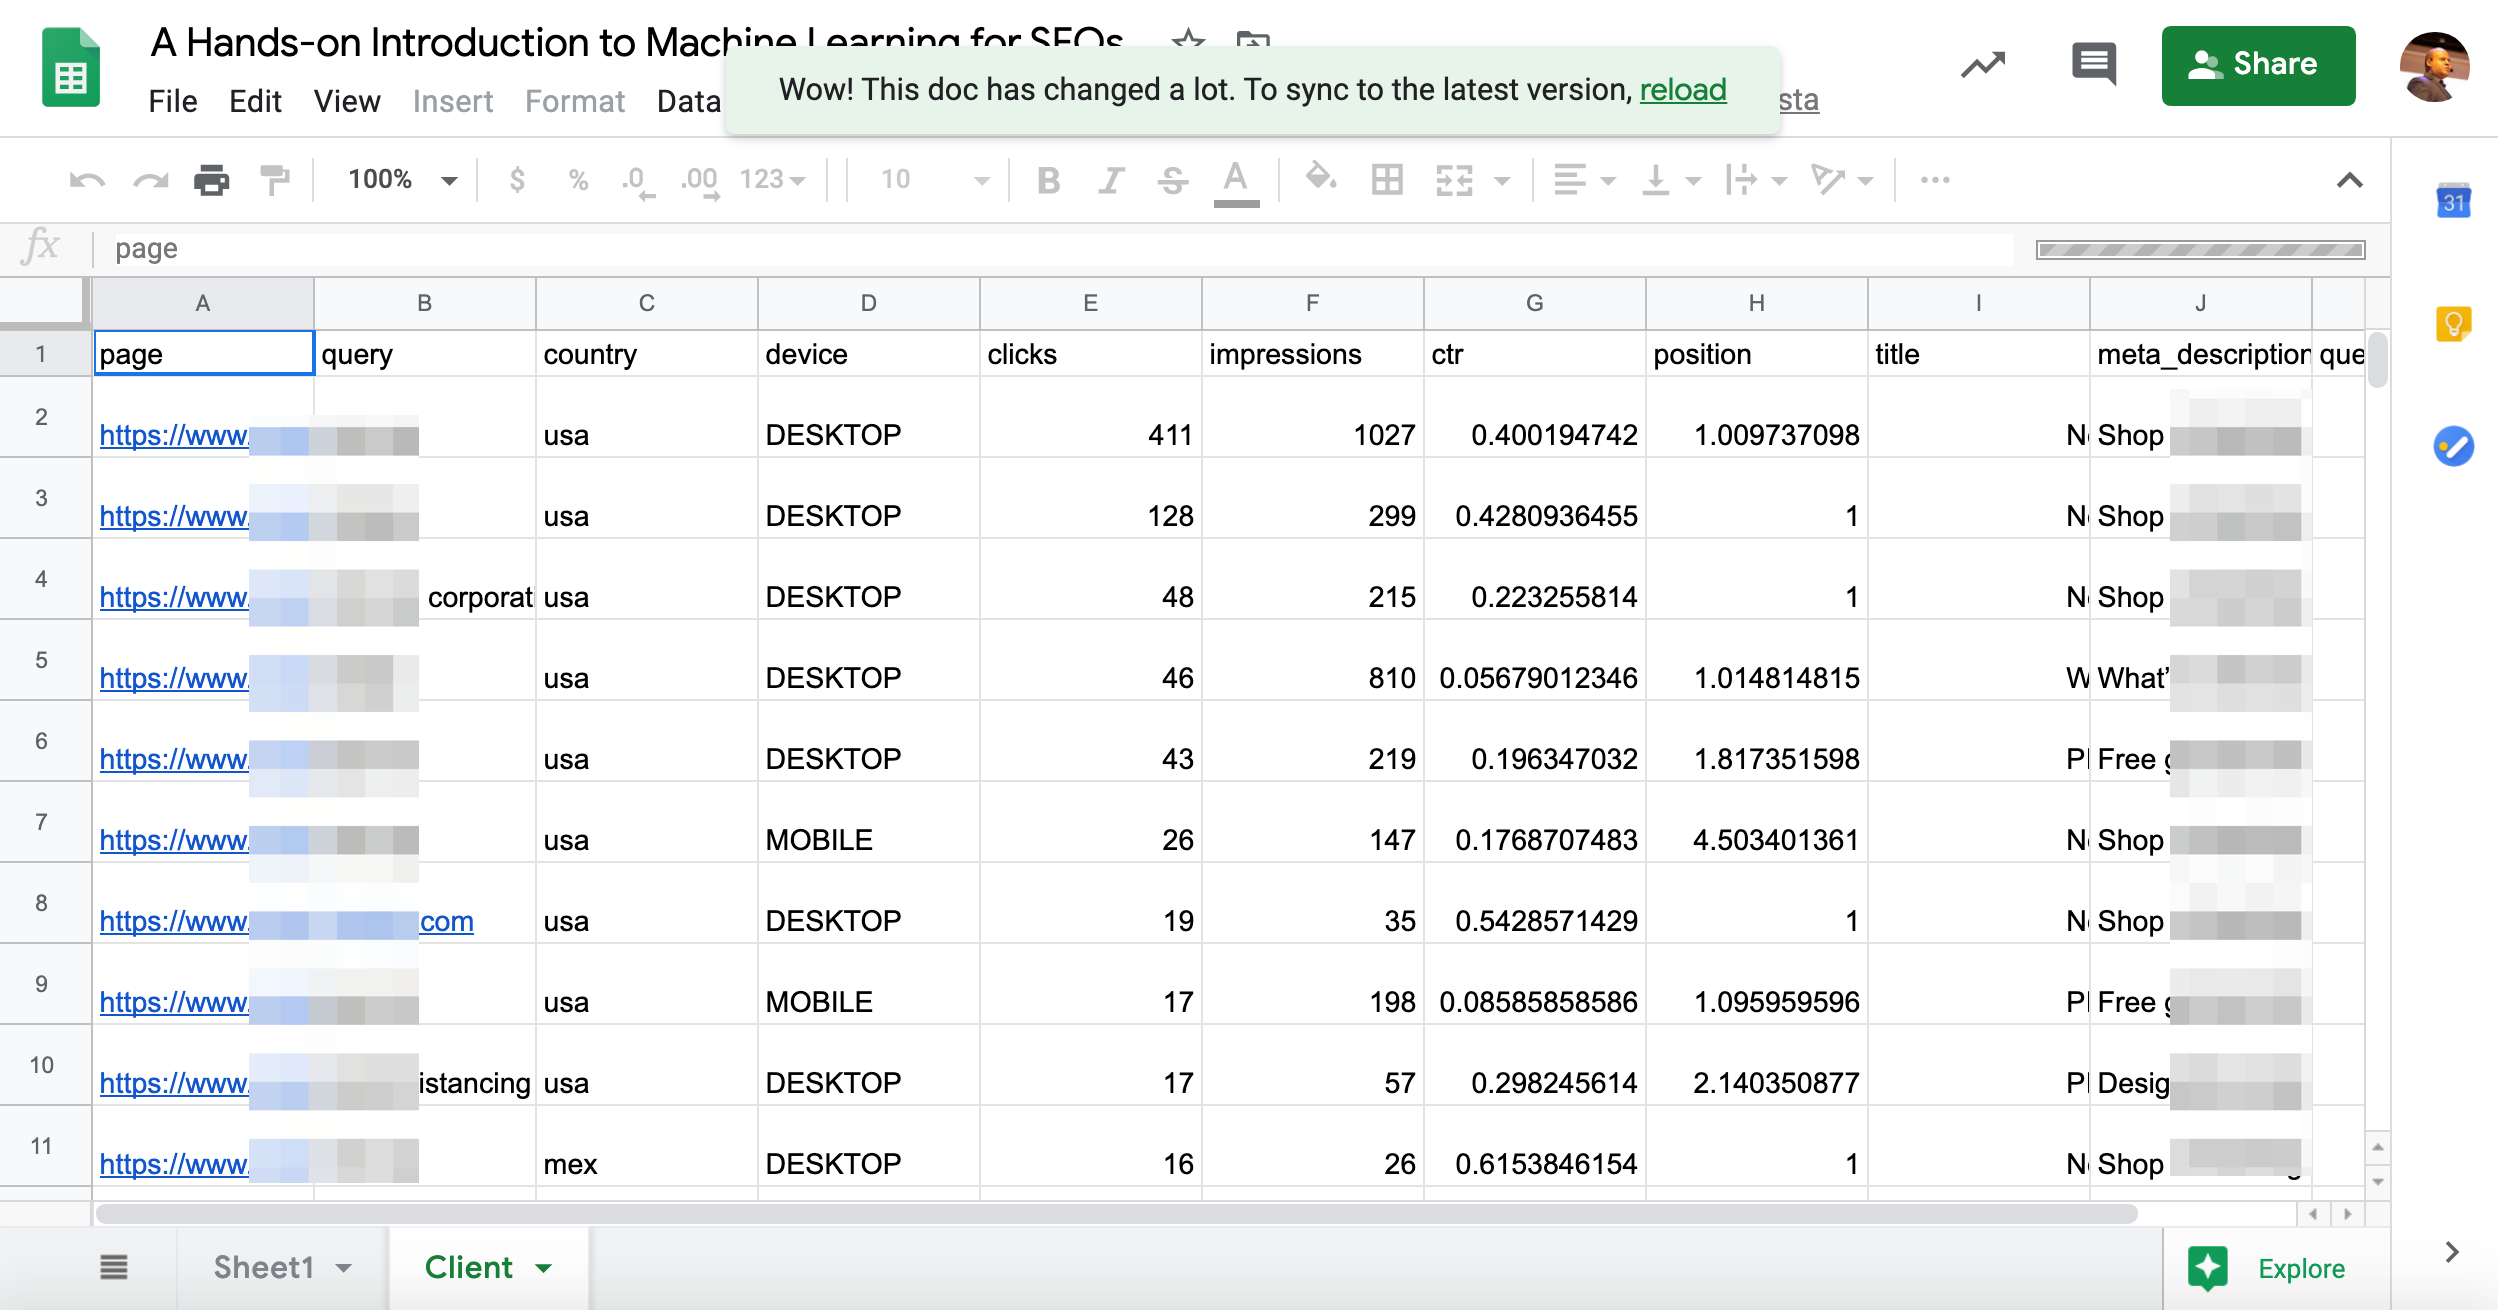
After executing all cells, you should end up with a custom training dataset in the blank spreadsheet like this one.
Let’s take our training dataset to BigML and see what we’ll learn.
We’ll be going over some of the code in the notebook after the BigML part.
Training the Predictive Model
BigML makes building predictive models really simple. You need to go through three phases:
- Import the source data file (our Google Sheet.)
- Create a Dataset that will work for machine learning. This includes removing some columns and selecting the goal column that we will try to predict.
- Select a predictive model to train as (we will use a deep neural net).
Let’s first try a simple and naive training session using all the columns in our dataset.
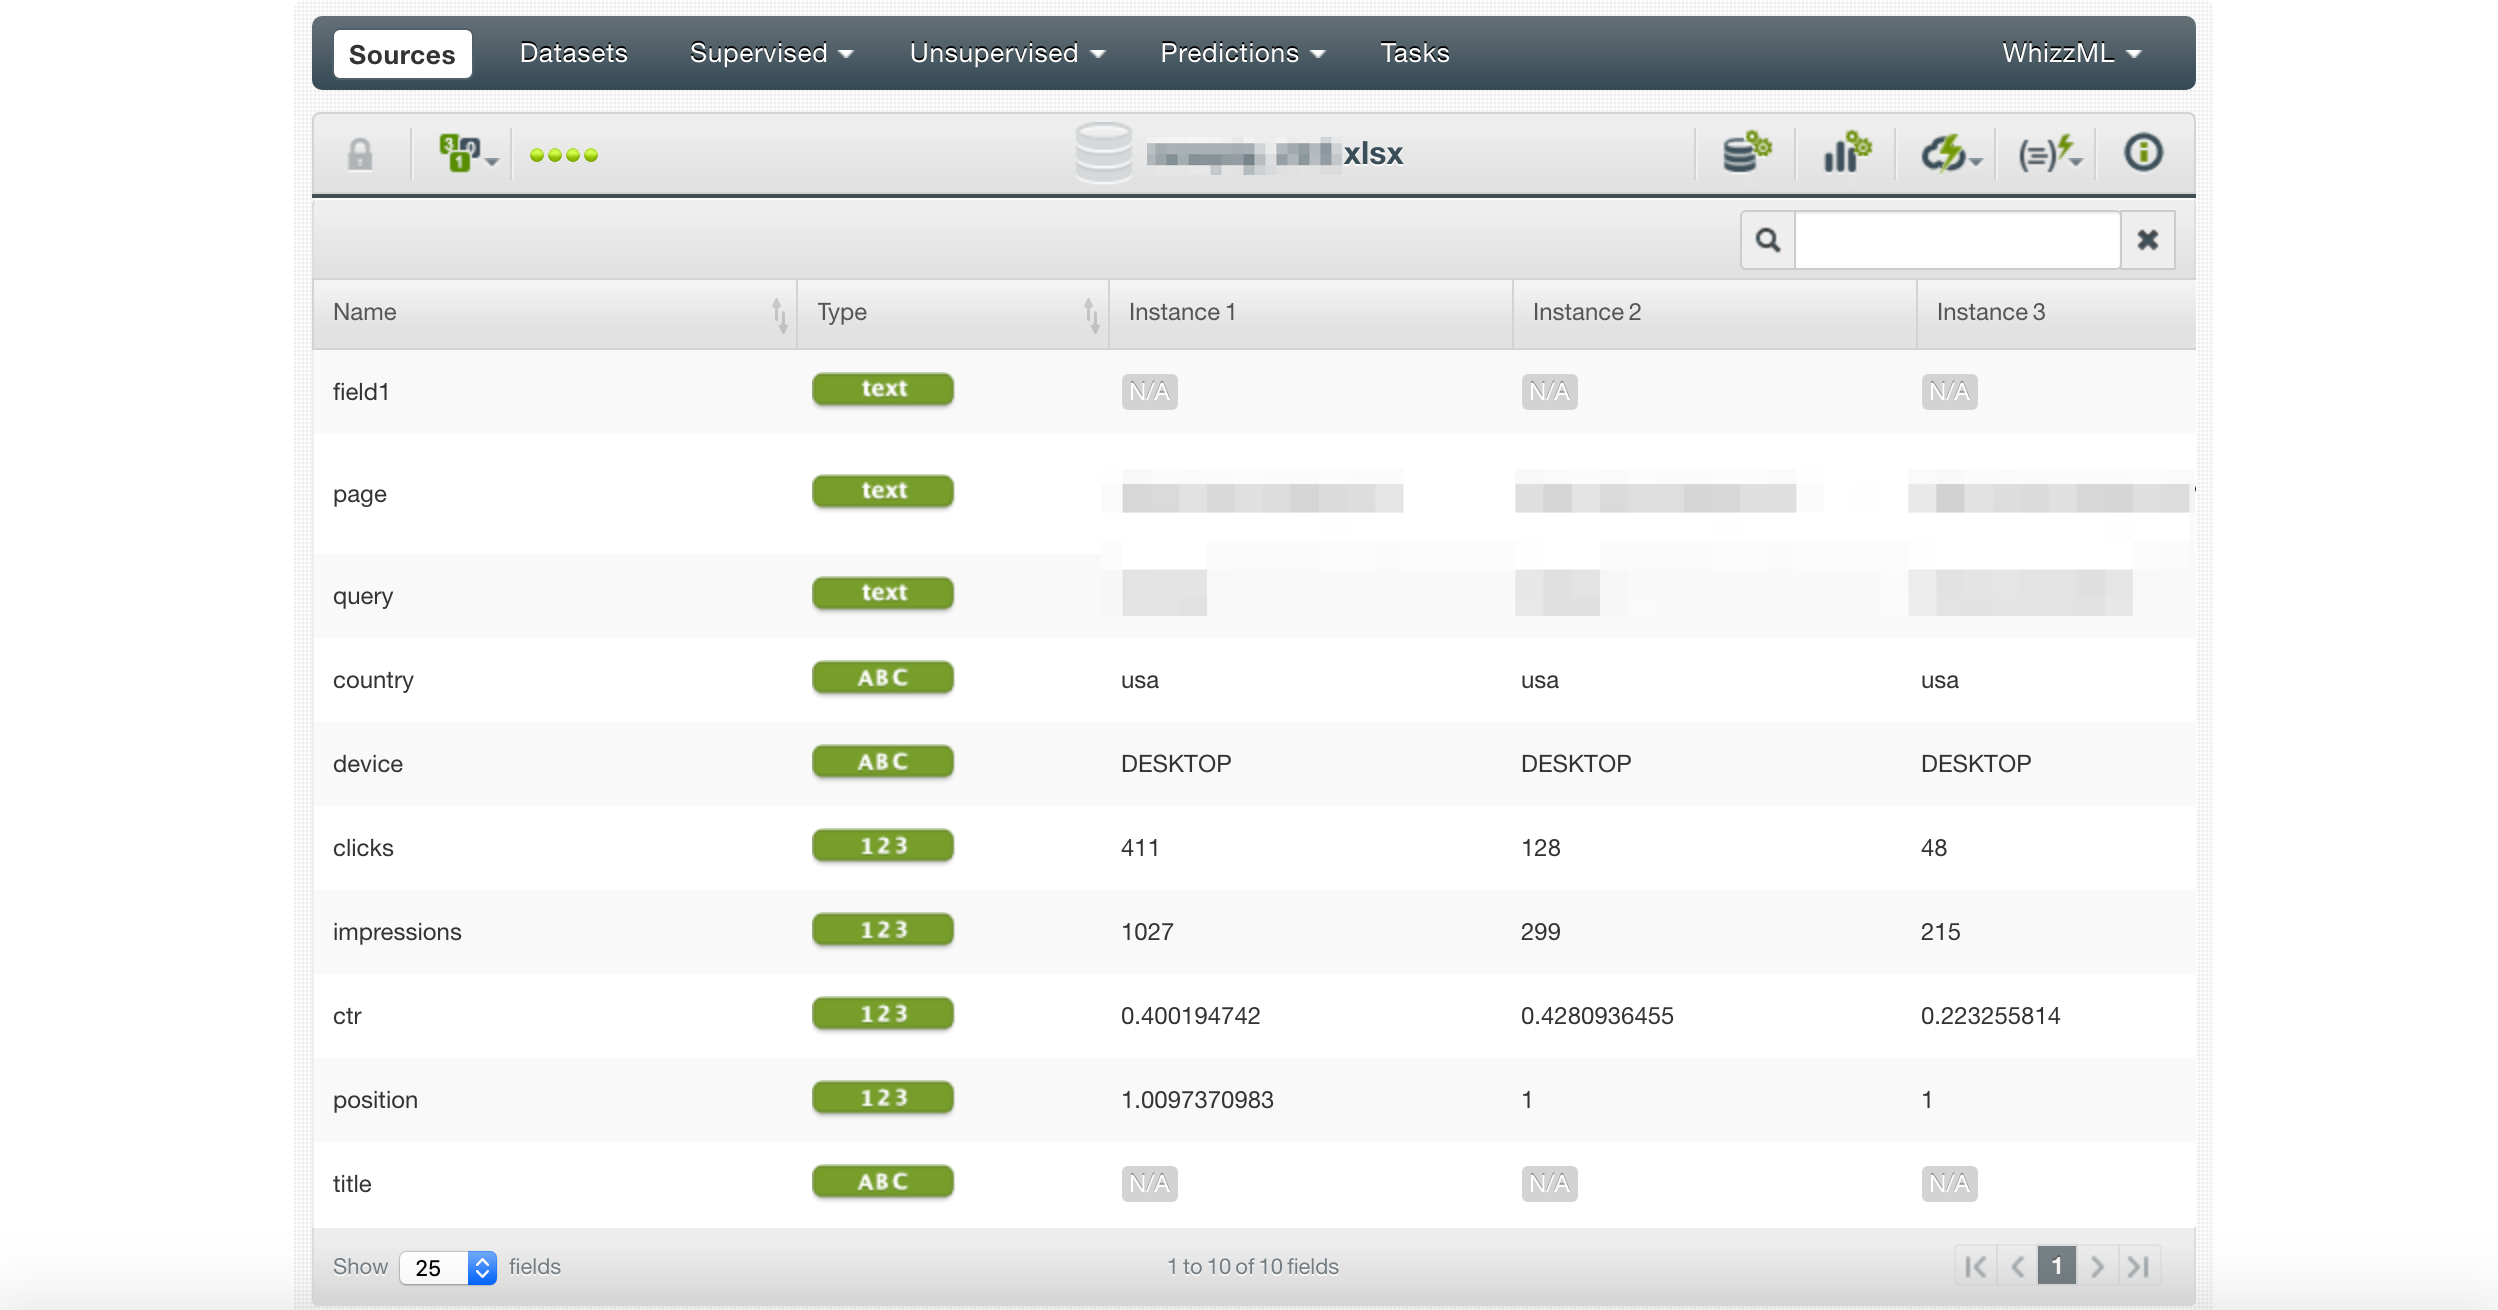
Here we import the Google Sheet we produced with the notebook.
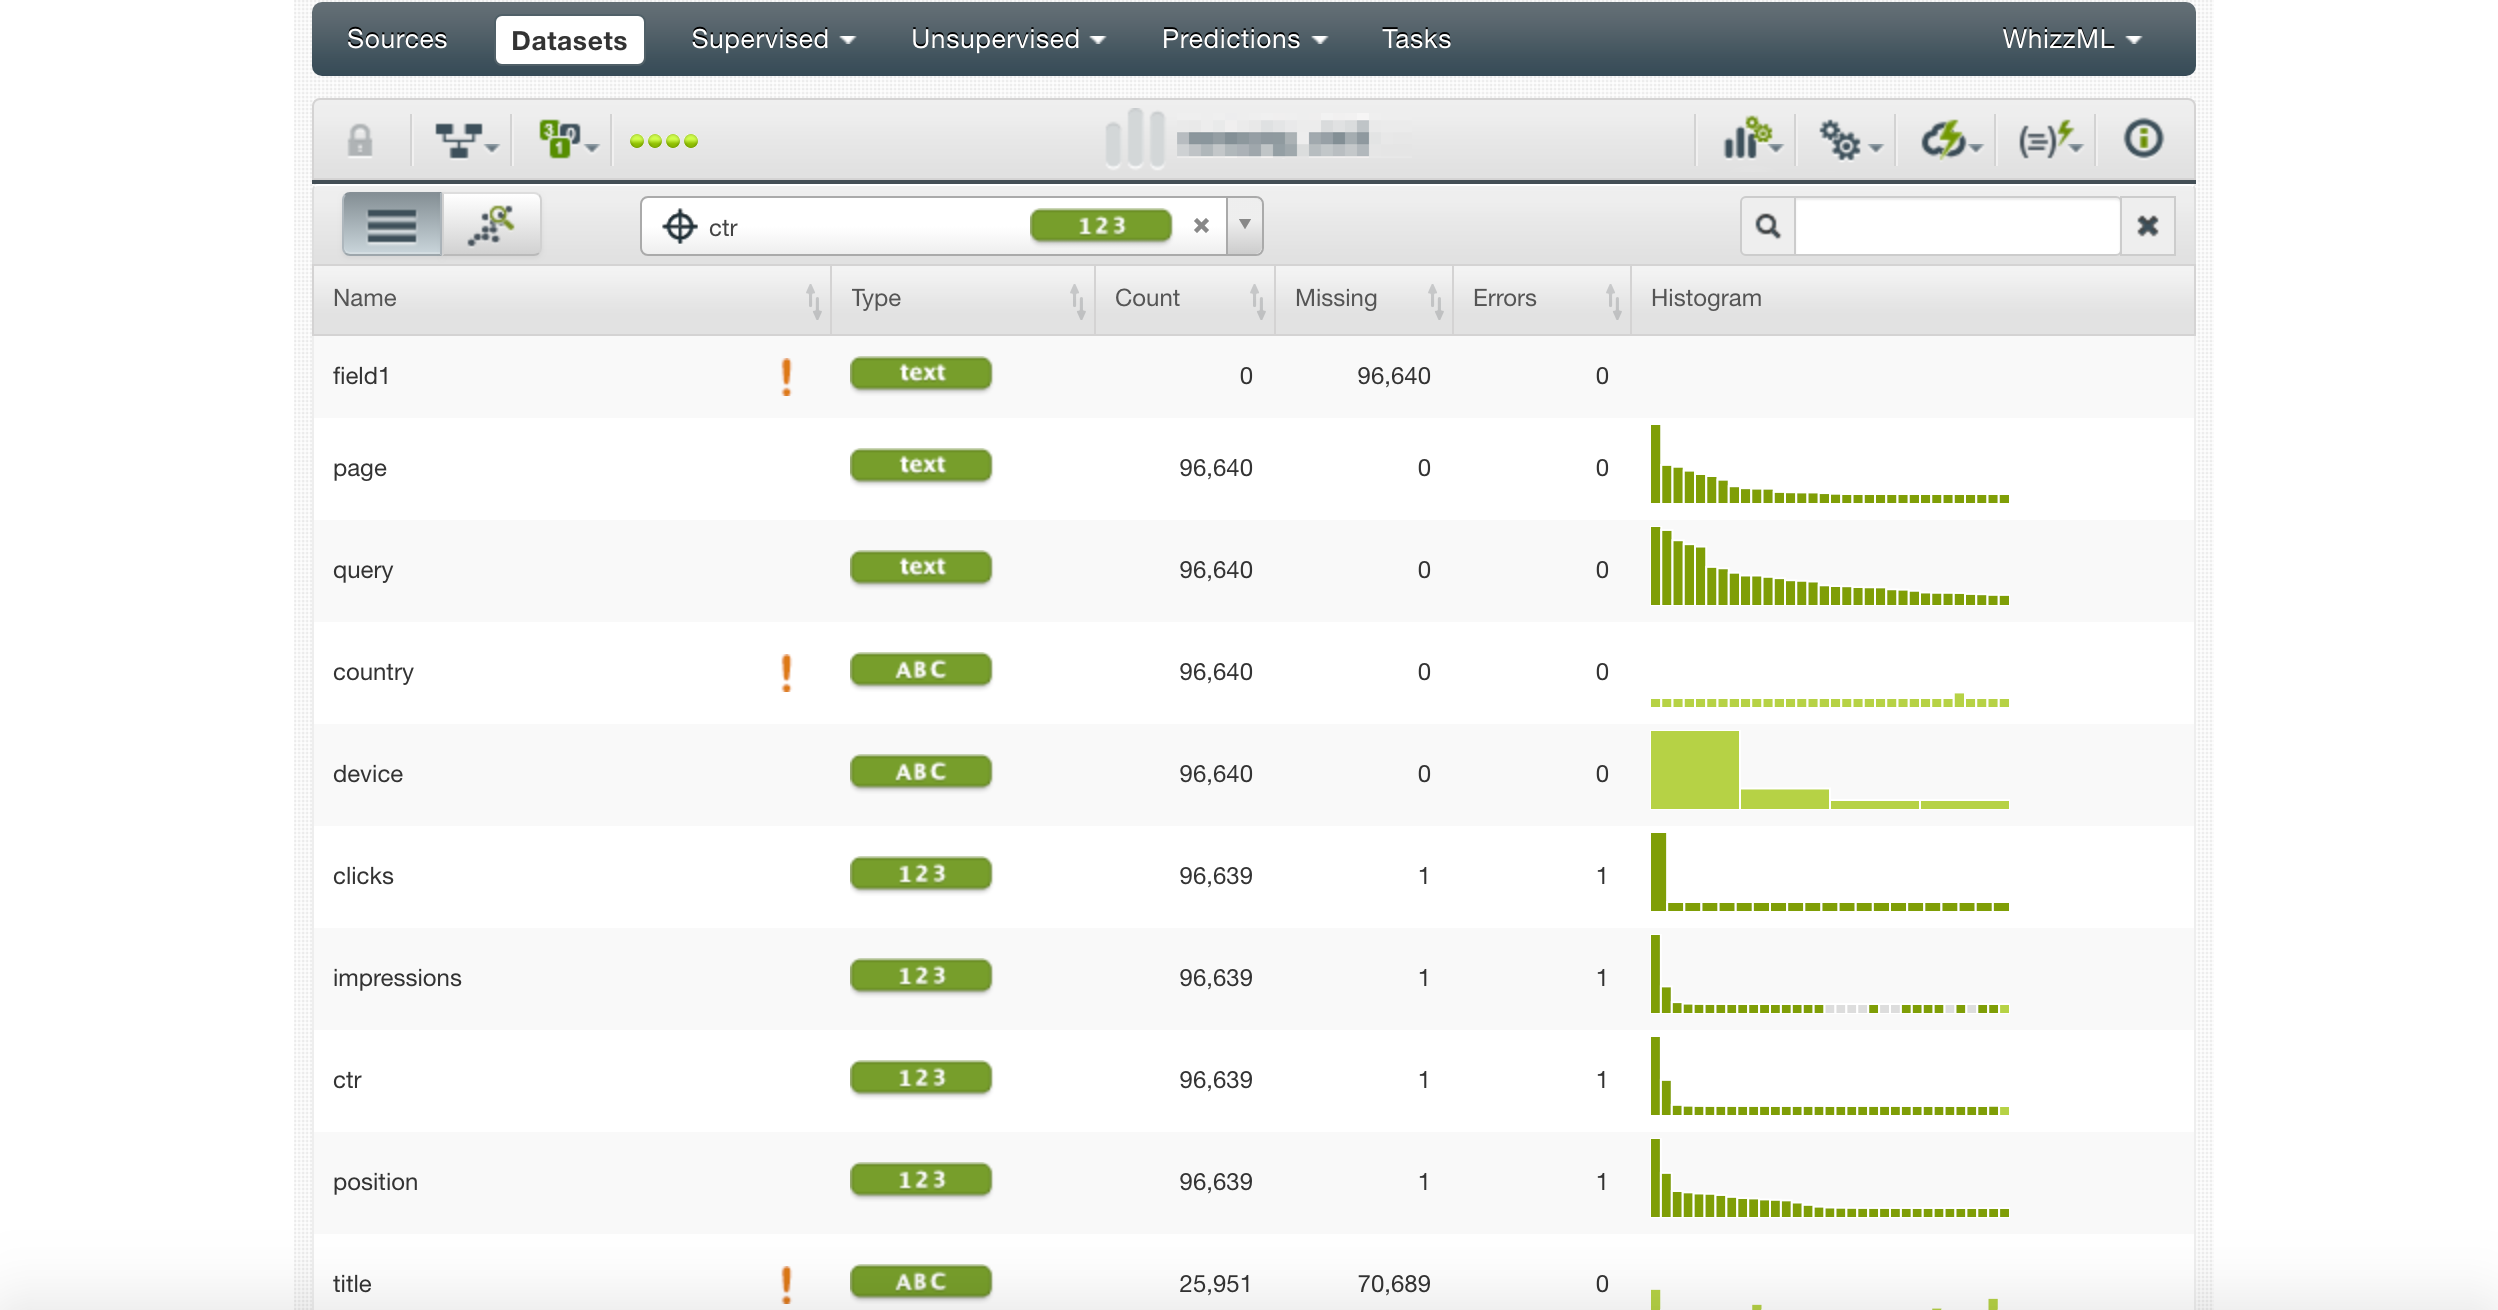
Next, we create a data source and select CTR as the target.
Notice the exclamation marks. They highlight columns that are not useful for prediction.
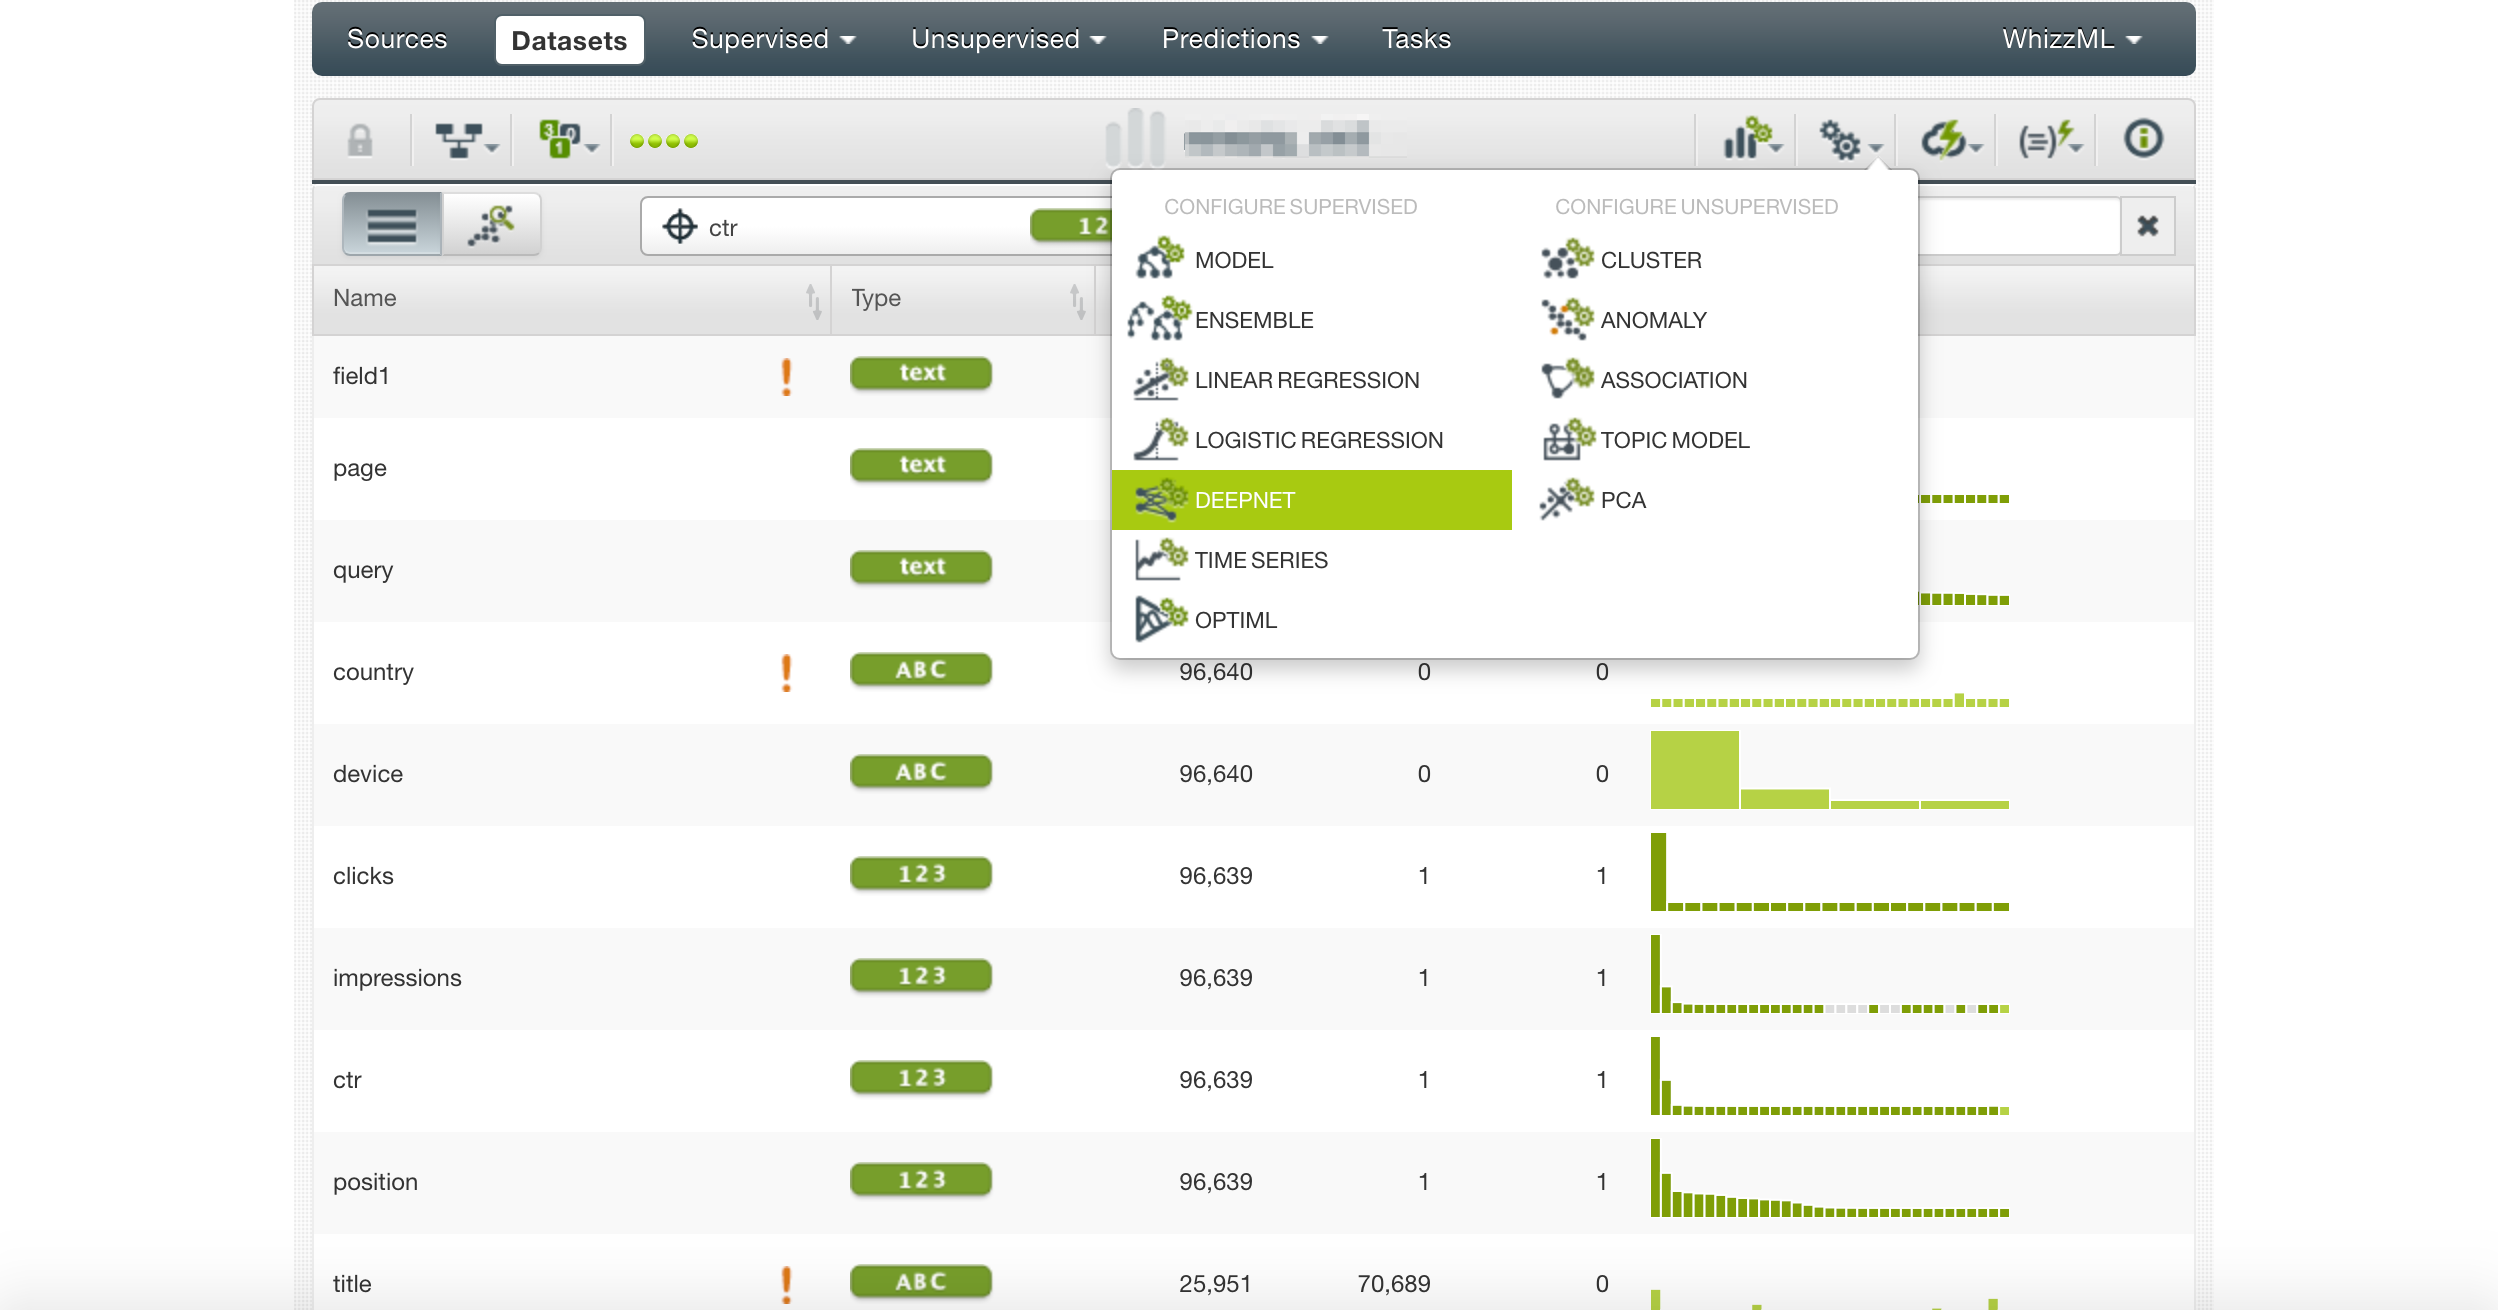
We select Deepnet as the model to build and let’s see which features are the most important.
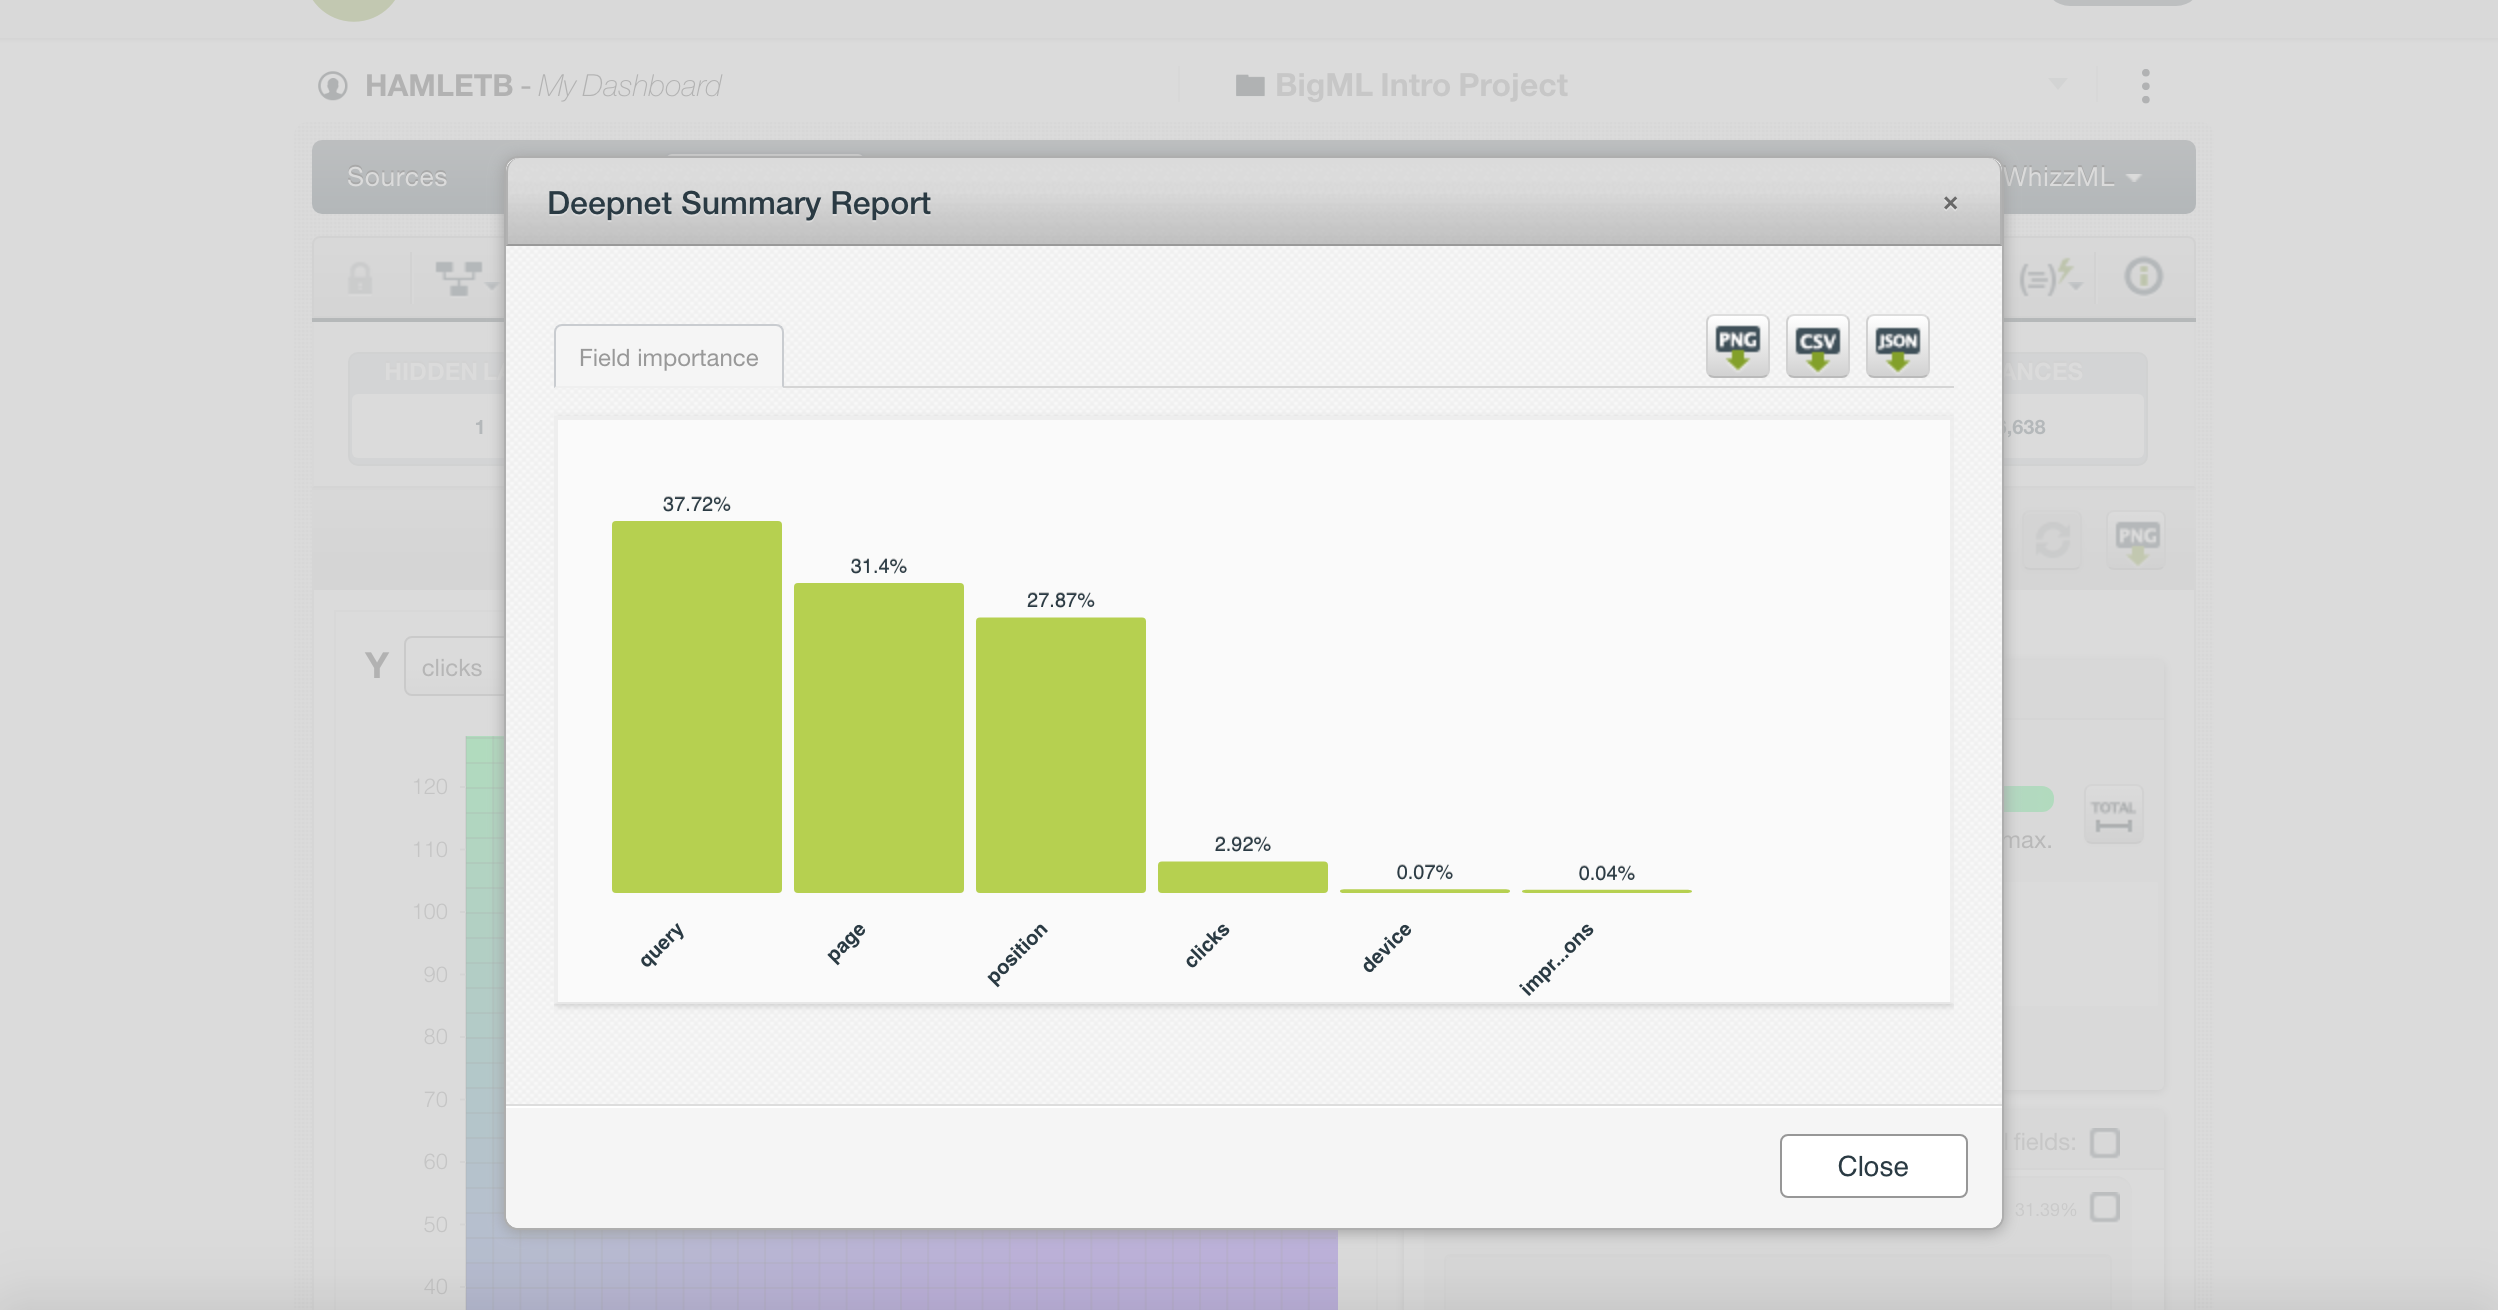
One thing that is particularly interesting is that CTR shows the query, the page, and the position as the most important features.
This is not telling us anything we didn’t know already. It is better to remove these columns and try again.
However, there is another, more nuanced problem. We are including CTR, clicks, and impressions.
If you think about it, CTR is clicks divided by impressions, so it is logical the model would find this simple connection.
We also need to exclude CTR from the training set.
Independent vs. Dependent Features
We need to include only independent features respective to our goal metric in our training set.
Here is why.
One oversimplified way to think about a machine learning model is to picture a linear regression function in Excel/Sheets.
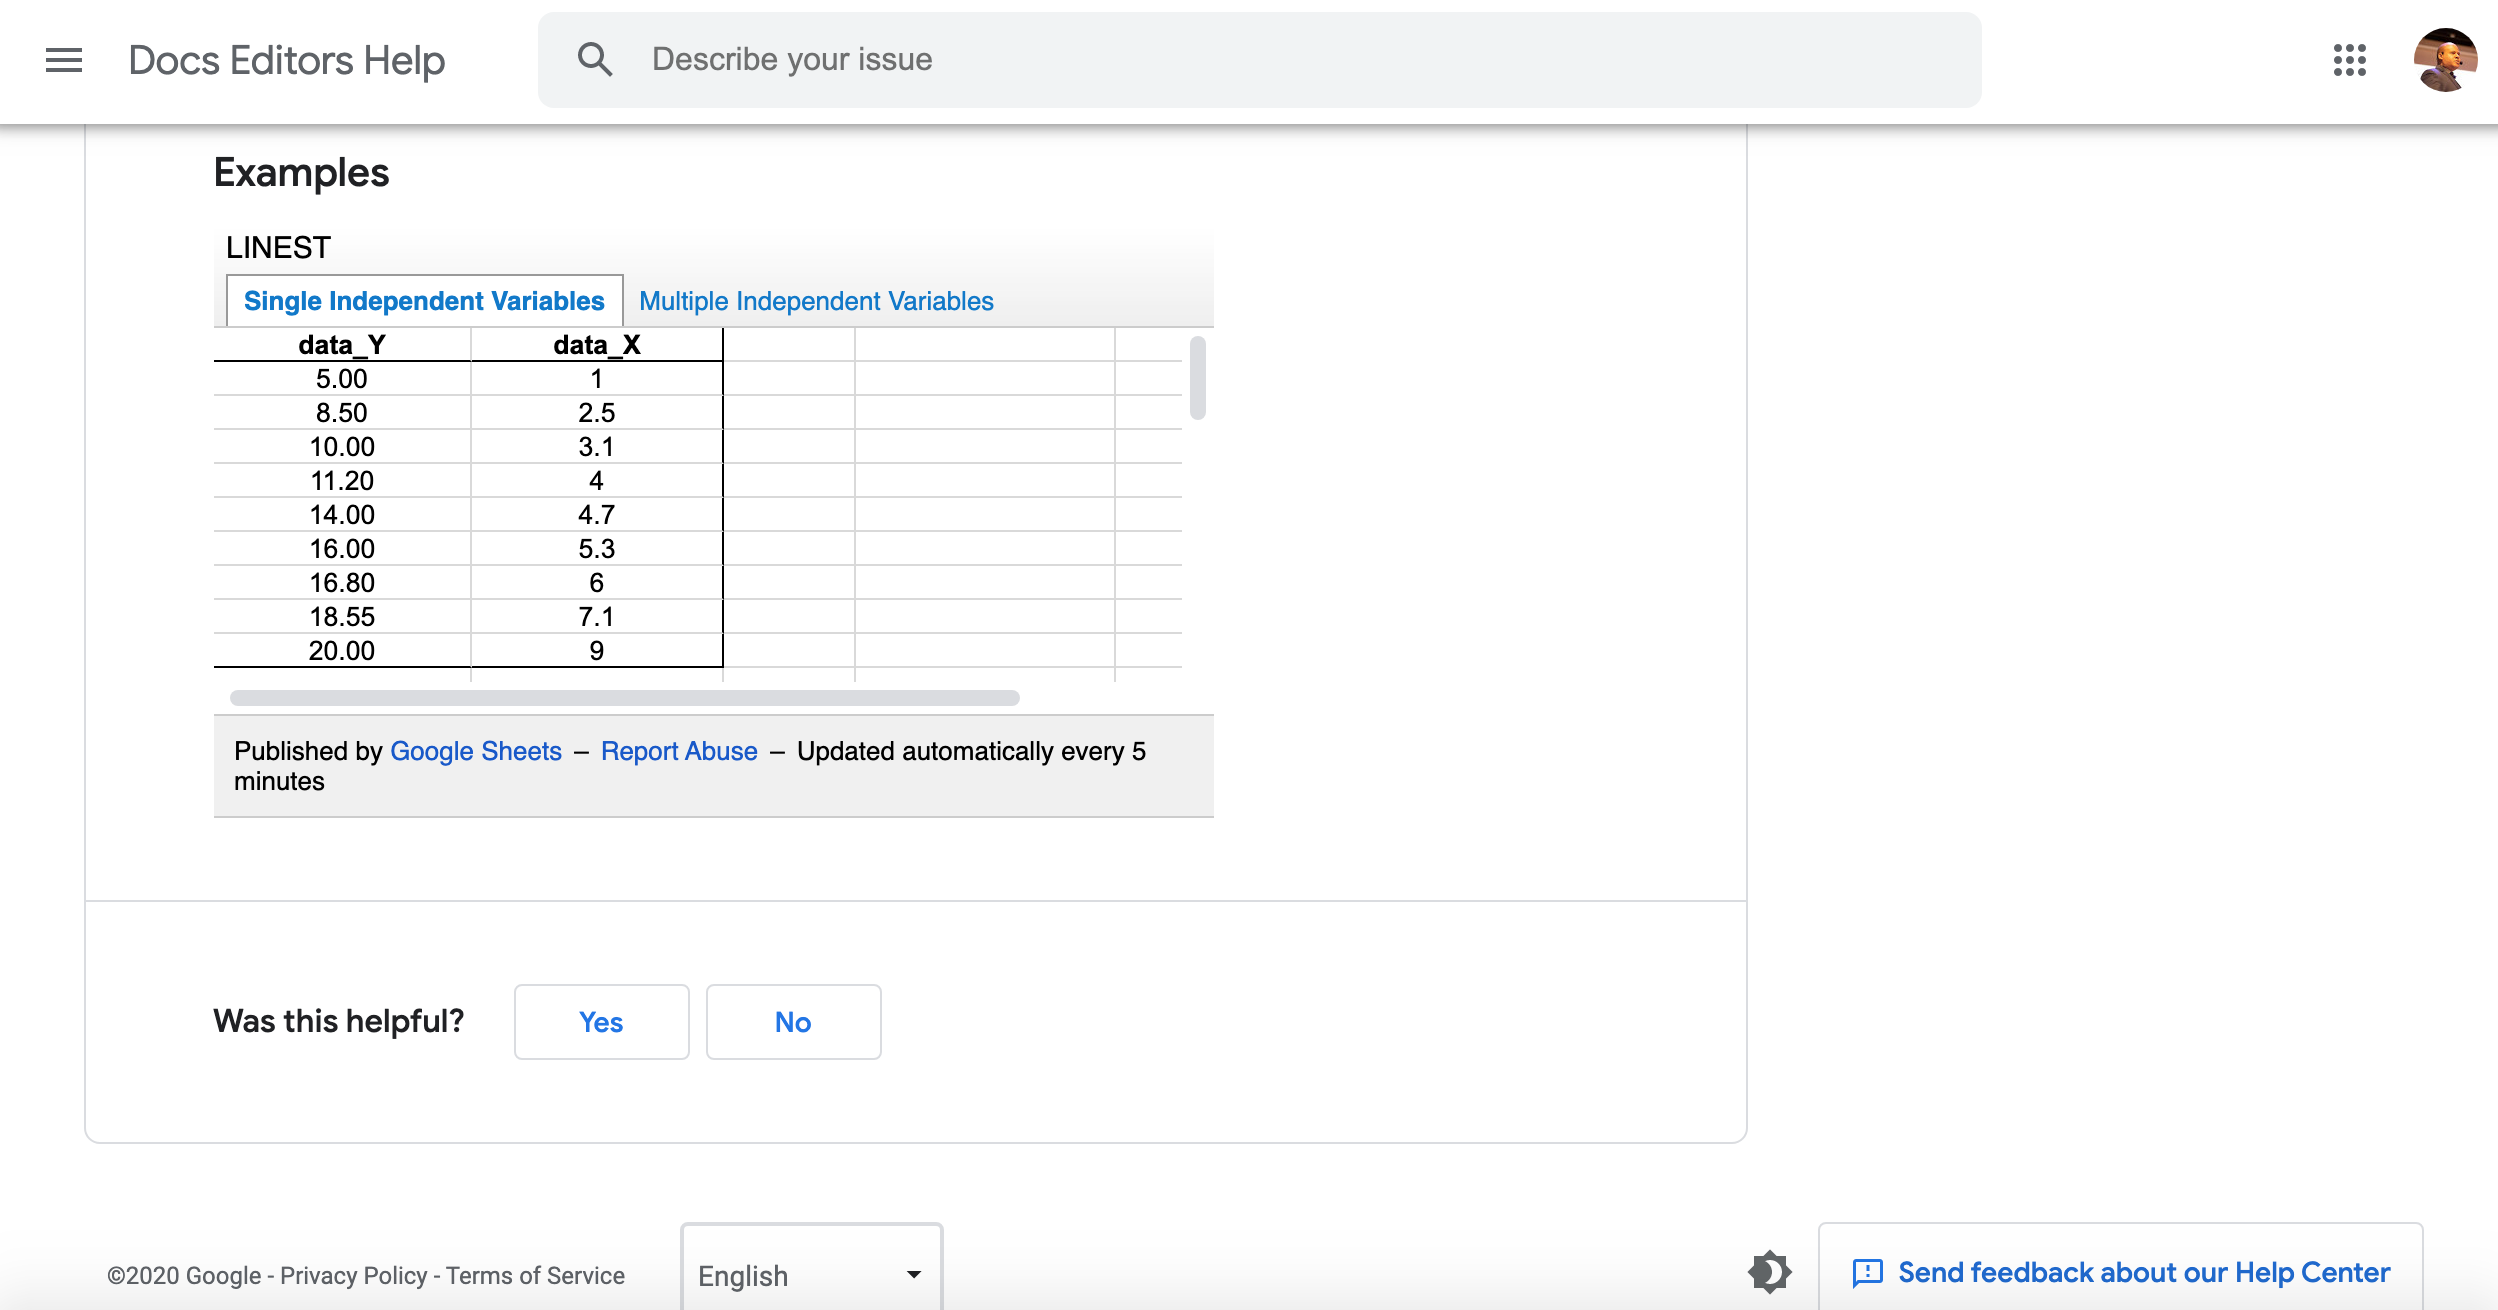
The values in our columns are converted to numbers and the goal of the training process is to estimate a function that given a value can make an accurate prediction.
We are trying to predict Y values, given X values, and a set of previously known Y, X values.
X is an independent variable, and Y is a dependent variable. It depends on the values of X.
Mixing independent and dependent variables carelessly (like we did above) leads to useless models.
We can correct that by changing the goal metric to be clicks and removing the CTR column from our dataset.
Clicks is independent of impressions because you also need the CTR, which we removed.
We also removed the page and query columns as they are not informative.
Augmenting the Training Set With New Features
Oftentimes the features you get access to are not informative enough and you need to make up new ones.
This is where your domain expertise and Python knowledge can make a big difference.
A data scientist working on a CTR predictive model might not have the SEO expertise to know that keywords in title tags can make a difference.
In the notebook, we added code to create a new column, query_in_title, that gives a score from 0 to 100 if the title includes the searched query.
When we included it in the training set and reviewed its importance in the predictive model (as seen in the image above), we learned something new and valuable.
We could follow a similar process and check the impact of queries in the meta description, or the emotional sentiment in both the title and the meta description, etc.
I find this type of exercise to be an under-appreciated benefit of training machine learning models.
Machines are really good at finding invisible patterns in the data as long as you have the domain expertise to ask the right questions.
Let’s review the code that I used to generate this new column.
Adding New Informative Features
Checking if a query appears in a title sounds simple, but it is really nuanced.
It is possible that the query is only partially included.
We can perform a partial match by performing a fuzzy search. We do this in Python using the library fuzzywuzzy.
Here is the code for that.
!pip install fuzzywuzzy[speedup]

from fuzzywuzzy import fuzz

#remove empty rows from the data frame

df = df.dropna()
df["query_in_title"] = df.apply(lambda row: fuzz.partial_ratio(row["query"], row["title"]), axis=1)

df[["page", "query", "country", "device", "clicks", "impressions", "position", "query_in_title" ]].to_excel("client.xlsx", index=False)

from google import files

files.download("client.xlsx")from requests_html import HTMLSession
def get_title_meta_description(page):
session = HTMLSession()
try:
r = session.get(page)
if r.status_code == 200:
title = r.html.xpath('//title/text()')
meta_description = r.html.xpath("//meta[@name='description']/@content")
#Inner utility function
def get_first(result):
if len(result) == 0:
return None
else:
return result[0]
return {"title": get_first(title), "meta_description": get_first(meta_description)}
else:
print(f"Failed to fetch page: {page} with status code {r.status_code}")
except:
print(f"Failed to fetch page: {page}")
return NoneNext, we can run it over all URLs from the Search Console.
# let's get all of them

titles_and_meta_descriptions=dict()
import time

for page in pages:

  print(f"Fetching page: {page}")

  titles_and_meta_descriptions[page] = get_title_meta_description(page)

  #add delay between requests

  time.sleep(1)
We have code in the notebook that converts this into a data frame. Next, we can merge two data frames to build our initial training set.
merged_df=pd.merge(df, new_df, how="left", on="page")Make sure to check the code that I used to populate the Google Sheet. I found a library that can synchronize a data frame with Google Sheets. I submitted a patch to simplify the authentication process within Google Colab.
# Save DataFrame to worksheet 'Client', create it first if it doesn't exist

spread.df_to_sheet(df, index=False, sheet='Client', start='A1', replace=True)
Resources to Learn More
There is more Python code to review, but as I documented the Colab notebook, it is better to read about it there and play with it.
Make sure to check the code that accesses Google Search Console.
One particularly exciting part for me was that the library didn’t support accessing it from Google Colab.
I reviewed the code and identified the code changes needed to support this.
I made changes, saw they worked, and shared them back with the library developer.
He accepted them and now they are part of the library and anyone using it will benefit from my small contribution.
I can’t wait to see how many more Python SEOs in the community make open source contributions to the libraries and code that we all use.
Machine learning is easier to learn visually.
Here are some cool links to learn it without complicated Math.
- A Visual and Interactive Guide to the Basics of Neural Networks
- AI and Machine Learning: How to Learn them Visually
- Machine Learning Foundations: What is ML?
More Resources:
- Automated Intent Classification Using Deep Learning
- Automated Intent Classification Using Deep Learning (Part 2)
- An Introduction to Python for Technical SEO
Image Credits
All screenshots taken by author, May 2020


